Stable Diffusion
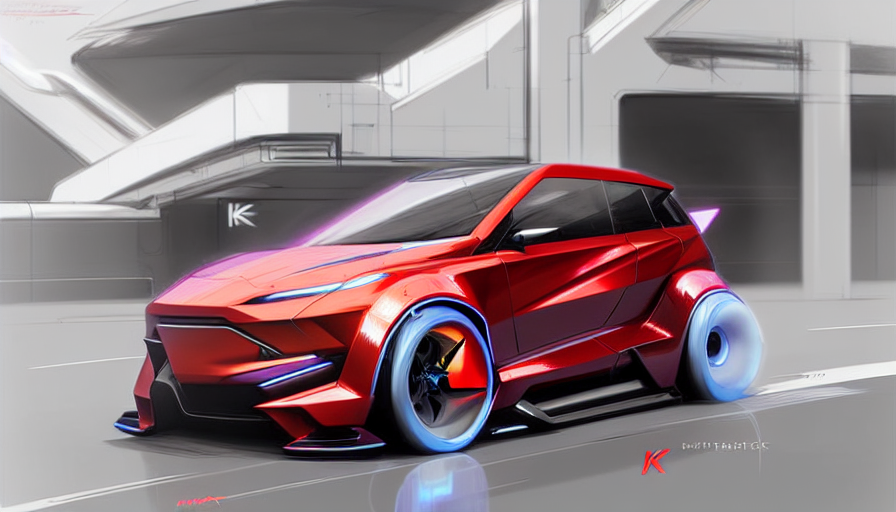
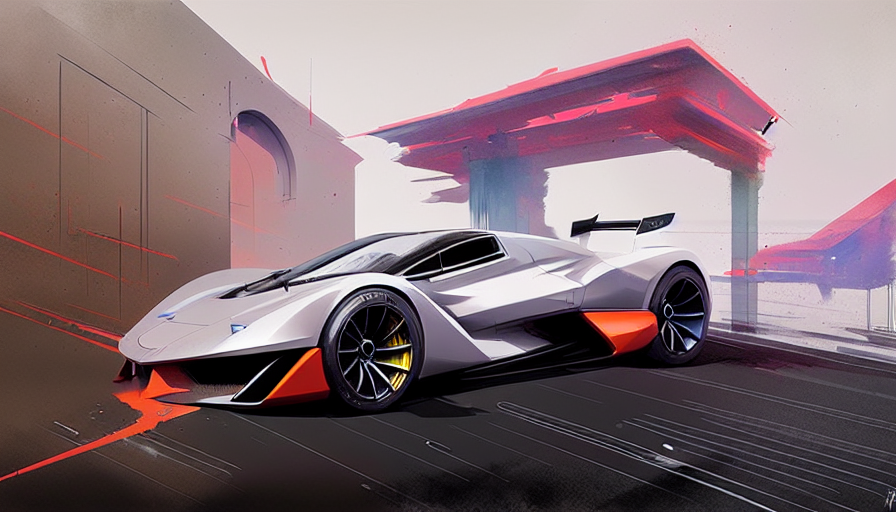
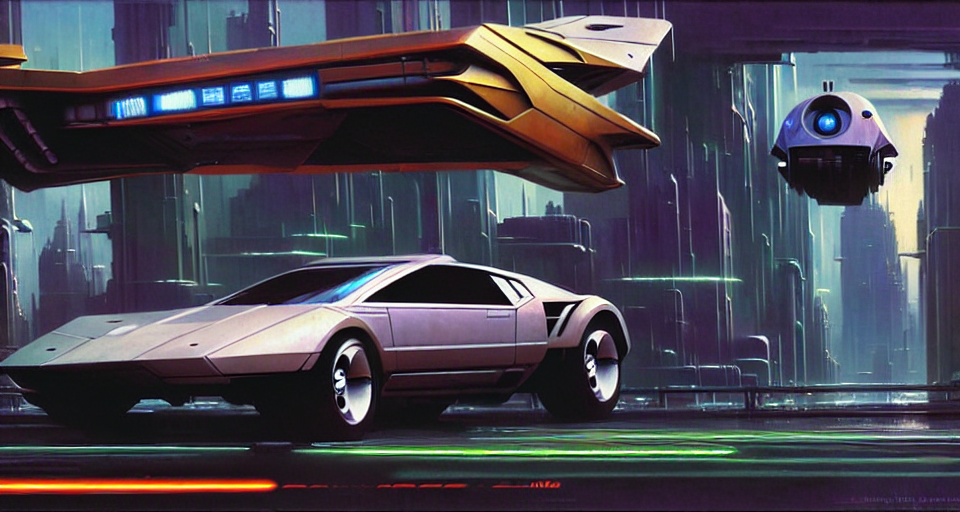


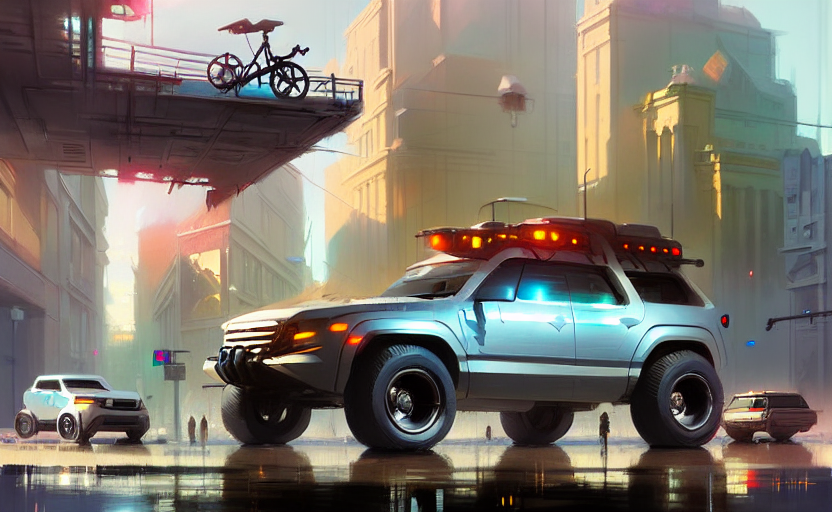
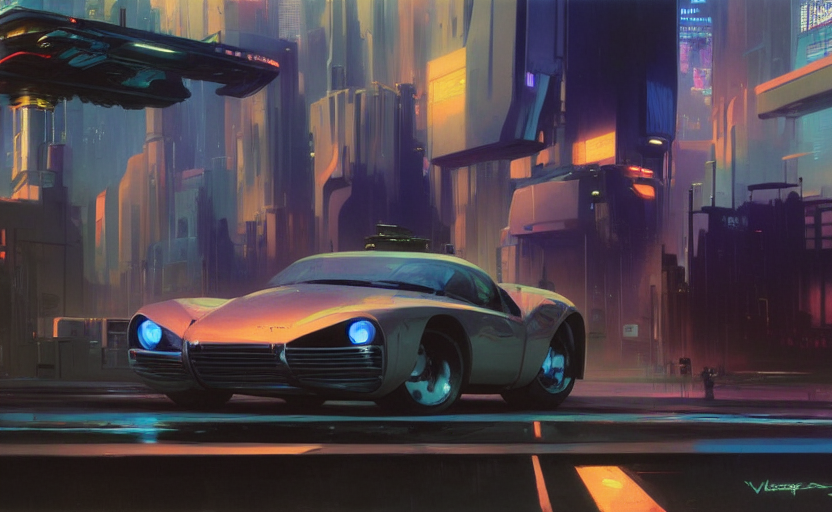
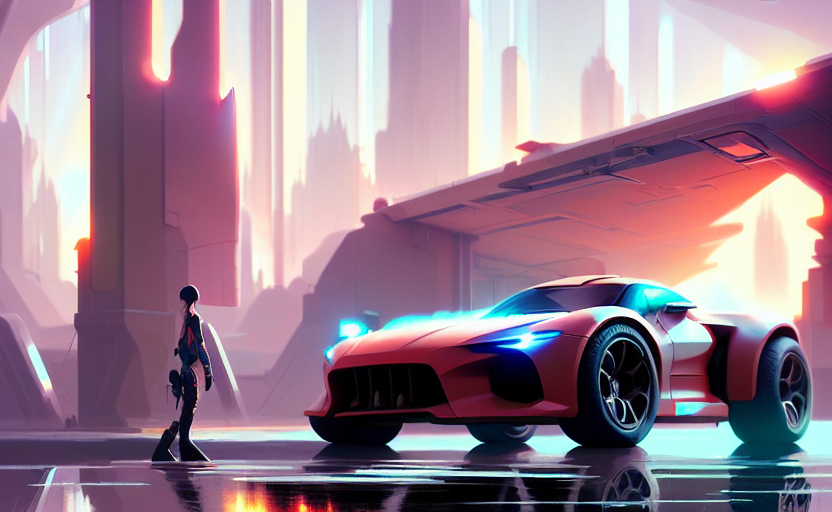
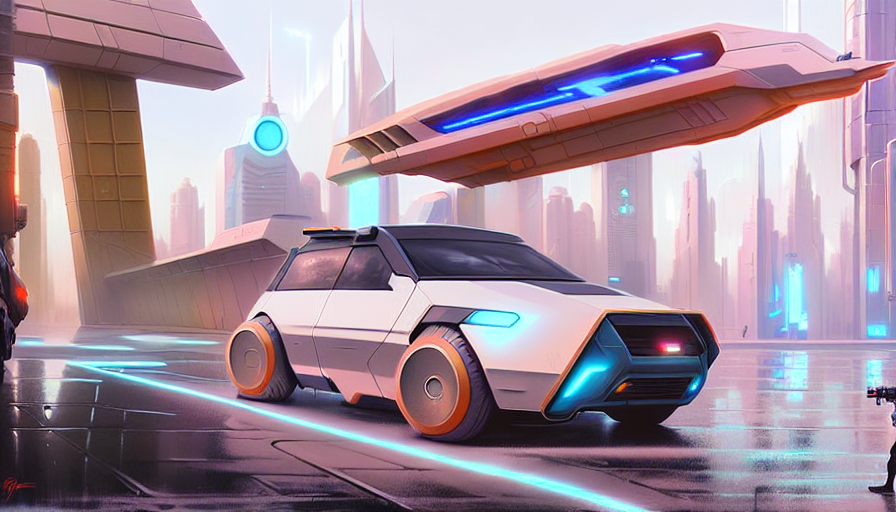

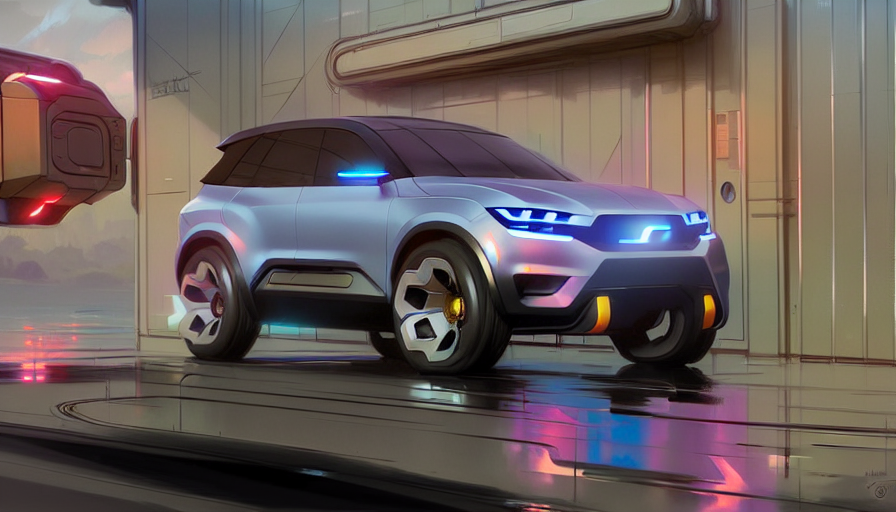
Table of Content
Stable Diffusion
Workflow Examples
Ideation Refinement with Variation Seed
Making Large Batches of Iteration
Streamlining your Workflow
Making X/Y Plots to Dial in Settings
Making X/Y Plots for Infinite Iterations
Videos
Intro to Stable Diffusion
What is Stable diffusion?
Stable diffusion is an open source AI powered text to image generator. It is important to remember it is always improving and updating. This guide was written in October 2022. I suggest checking out Aitrepreneur YouTube channel for the latest updates.
Why use Stable Diffusion over other AI image generators?
Stable diffusion is open source which means it’s completely free and customizable. It runs locally in your computer so you don’t need to send or receive images to a server. All you need is a graphics card with more than 4gb of VRAM. Once installed you don’t even need an internet connection.
Since it’s open source, the images generated are owned by you. You can put it on a T shirt, use it in your book and nobody can use that image without your legal consent.
The most important reason is you can use an image to guide the result. It’s set up so you can dial in every setting and reuse the same seed to see the difference every aspect does to the final image.
How do AI image generators work?
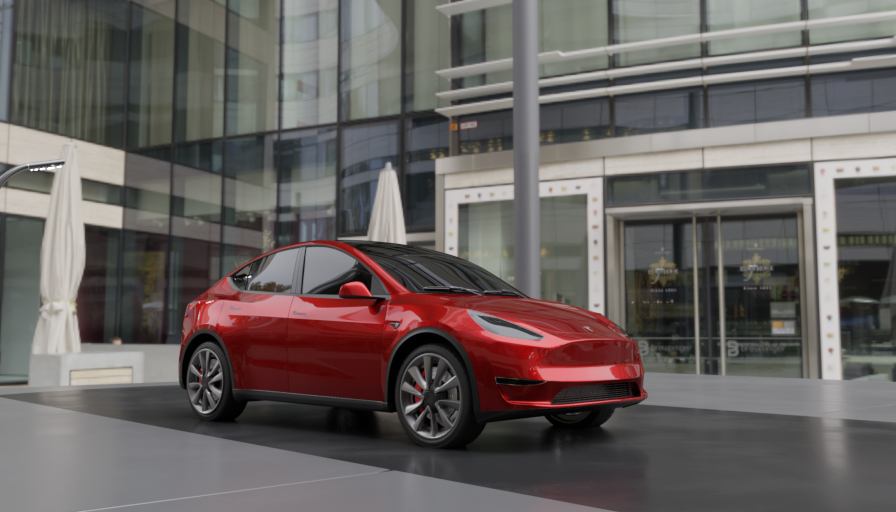
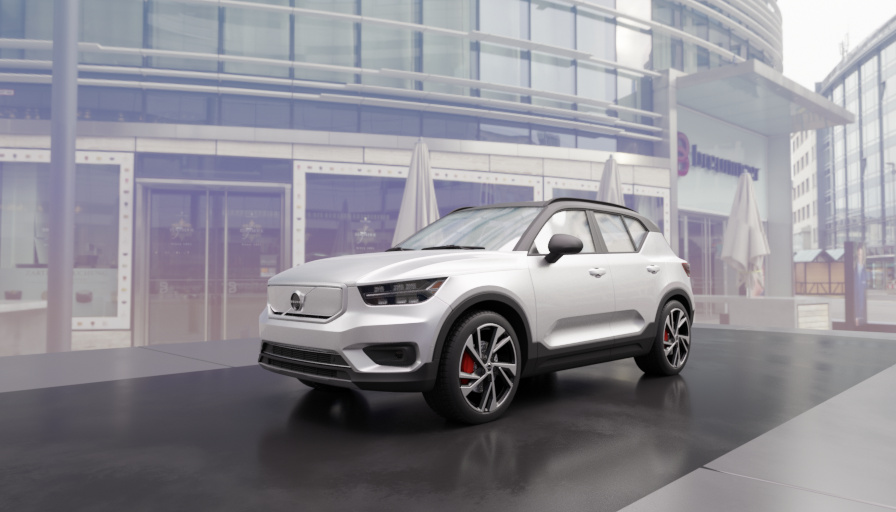
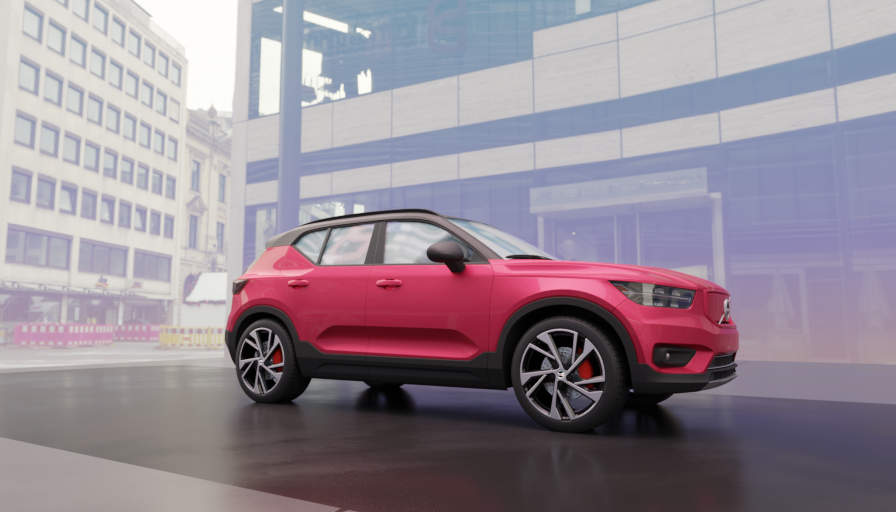
AI image generators were trained by taking huge data sets of 512x512 images that were labeled with the subject it contained, and adding noise to them
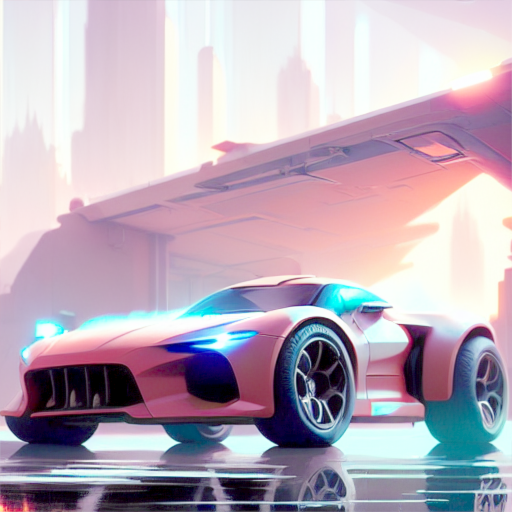
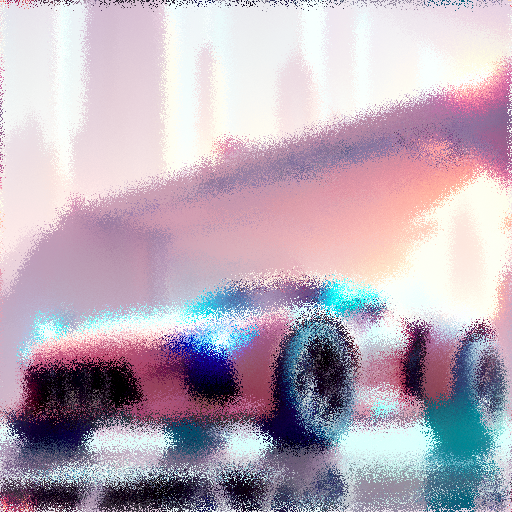
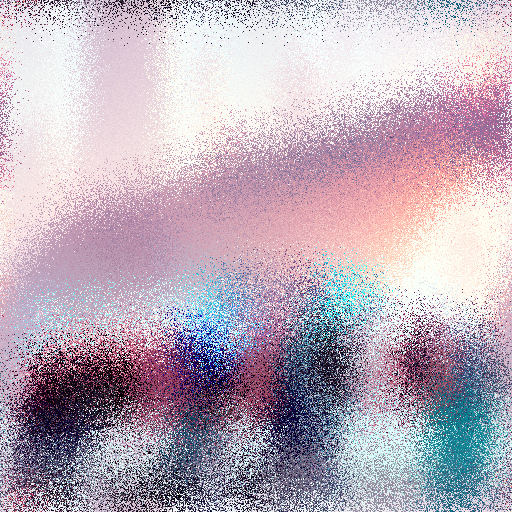
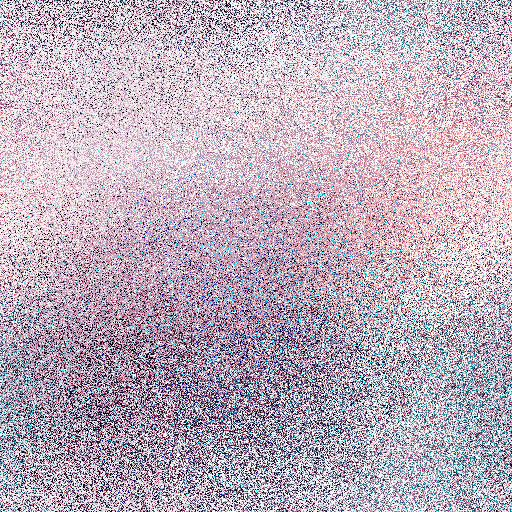
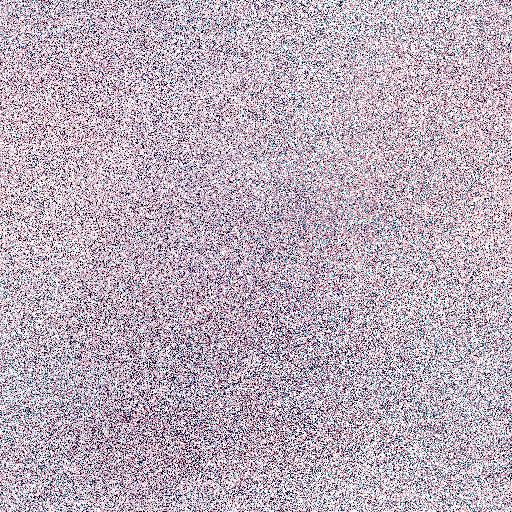
If you notice by the third image we can still see the car but can’t tell what type it is. Stable Diffusion was trained to look at the noise and work its way back to the image.
Stable Diffusion only has the ability to analyze 512x512 pixels at this current time. This is the reason why we tend to get two of the same object in renderings bigger than 512 pixels. Don’t worry though, we can upscale and guide the image to eliminate this problem.
Every image generation starts with a random noise based on a seed. Their is 10 billion seeds, to put that in perspective, if we got one image a second, it would take 317 years before you get a repeat image. It takes Stable Diffusion 15 seconds with my NVidia 3090ti to generate a new idea, So I can get back 240 ideations every hour, or go to sleep and wake up to 1,920 new design iterations.

Text to image Prompt
Text prompts are where you type in what you want Stable Diffusion to generate.
Using () around the word adds more weight to it, weight can be thought of as influence. To decrease the weight of something surround the word with [], you can also add more by repeating the symbols for example: A burger with (bacon) and [[[lettuce]]]
Their is also a negative prompt where you can ask it to not have a certain thing for example a plate.

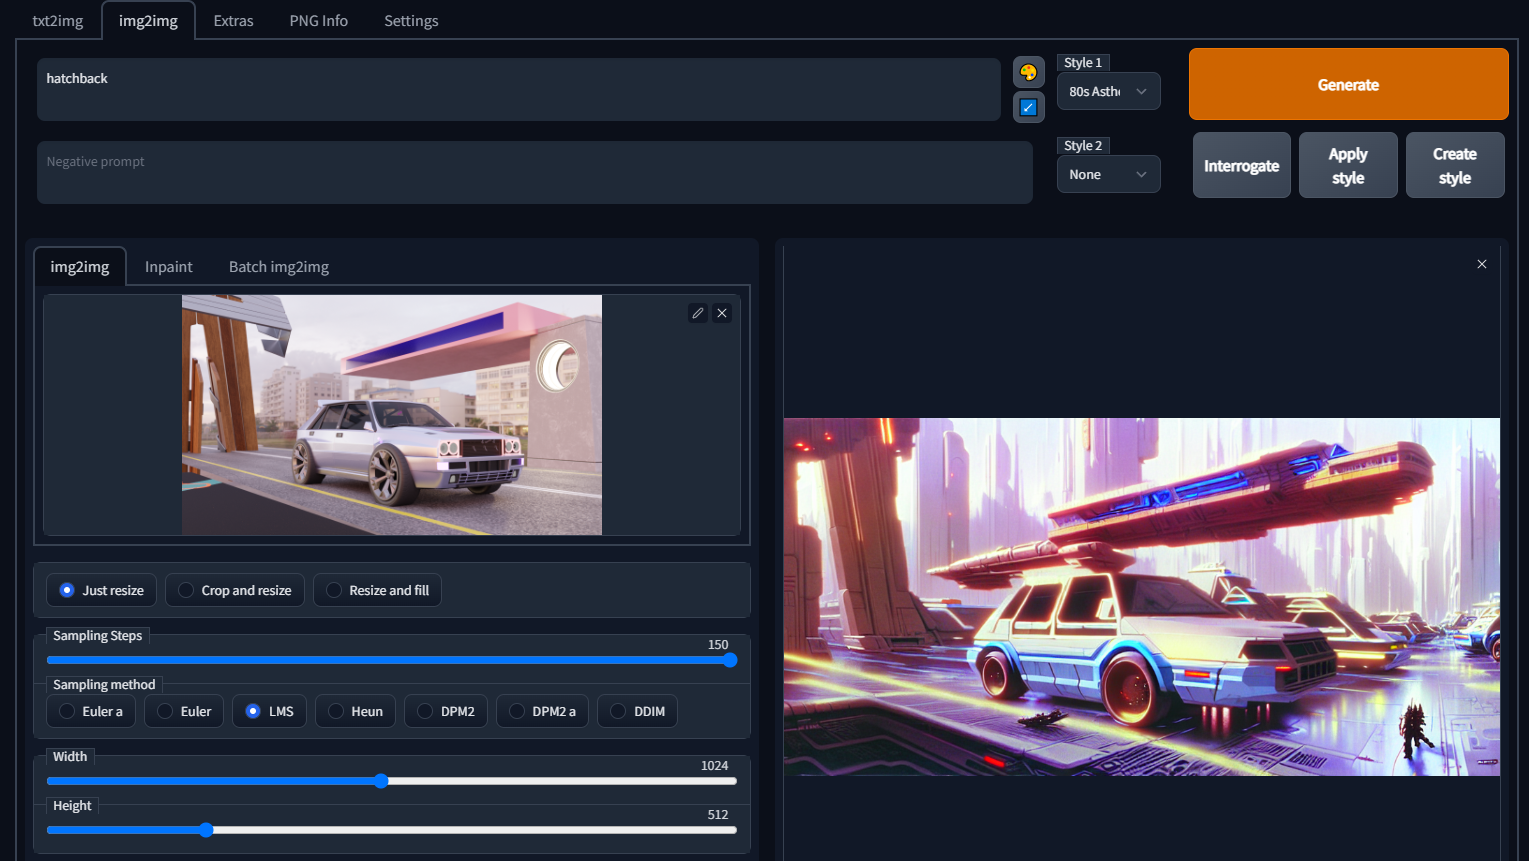
Image to Image Prompt
This is the most important aspect of this whole situation. We can use an image as a guide for stable diffusion to look at and read our prompt and give us the result we desire.
The amount of options can be a little overwhelming but don’t worry I’ll explain everything in detail in their corresponding section
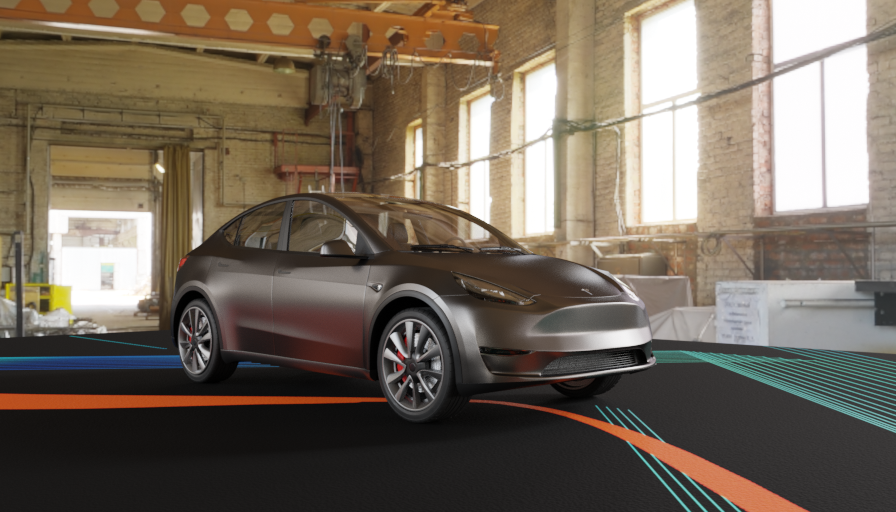
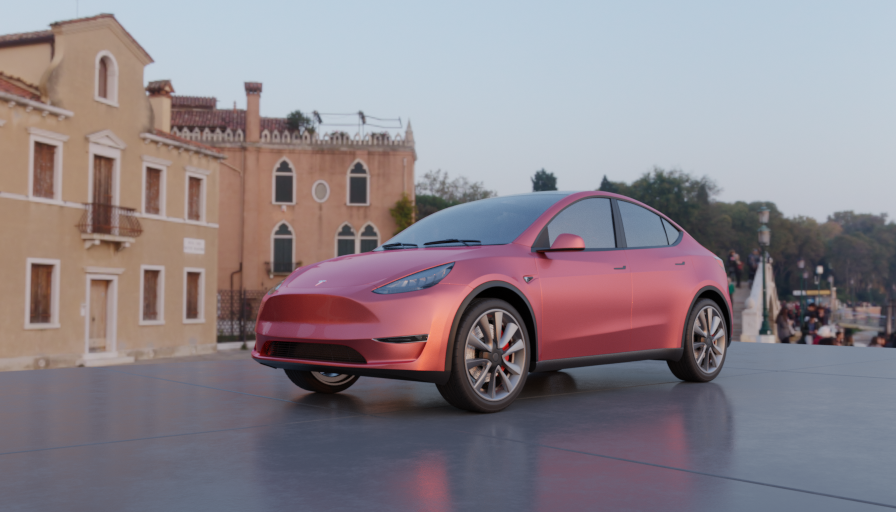
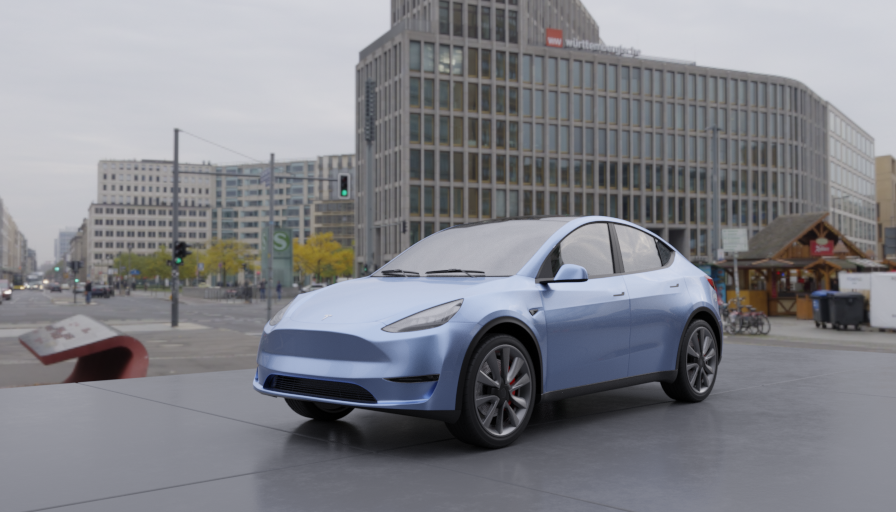
You can use any type of image, and you can decide how much influence it has in the result.
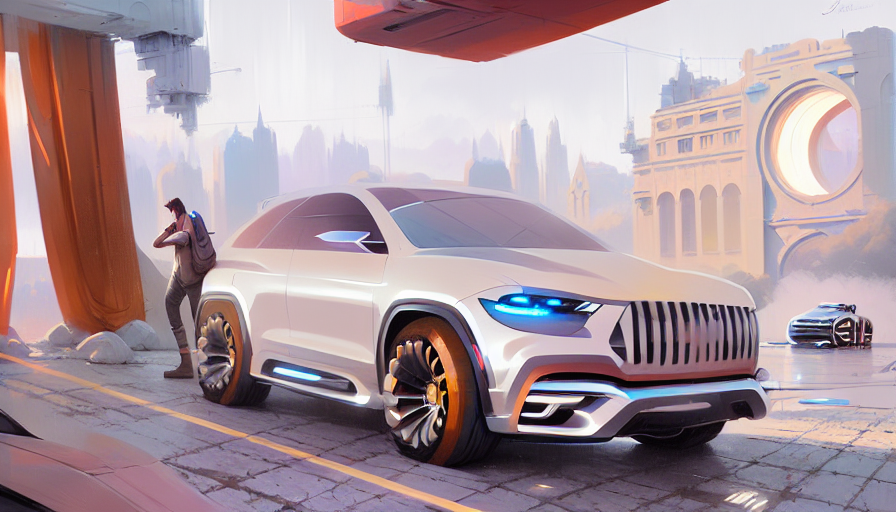
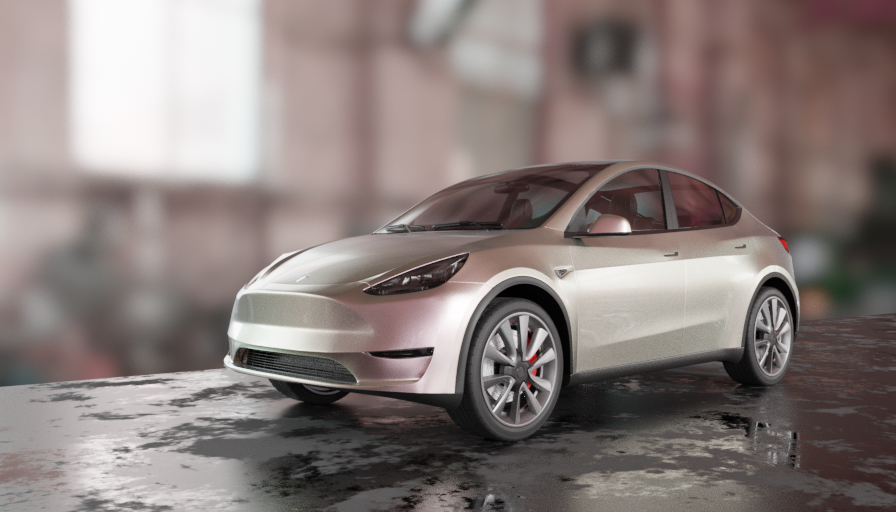
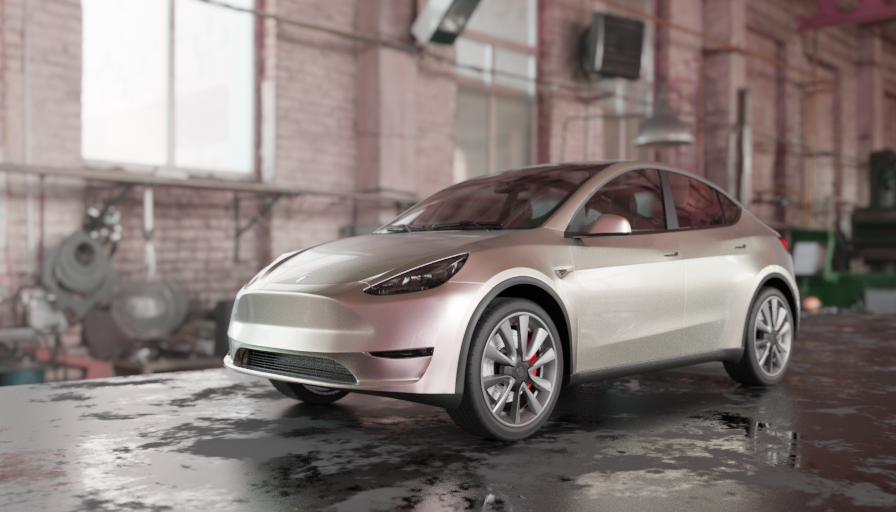
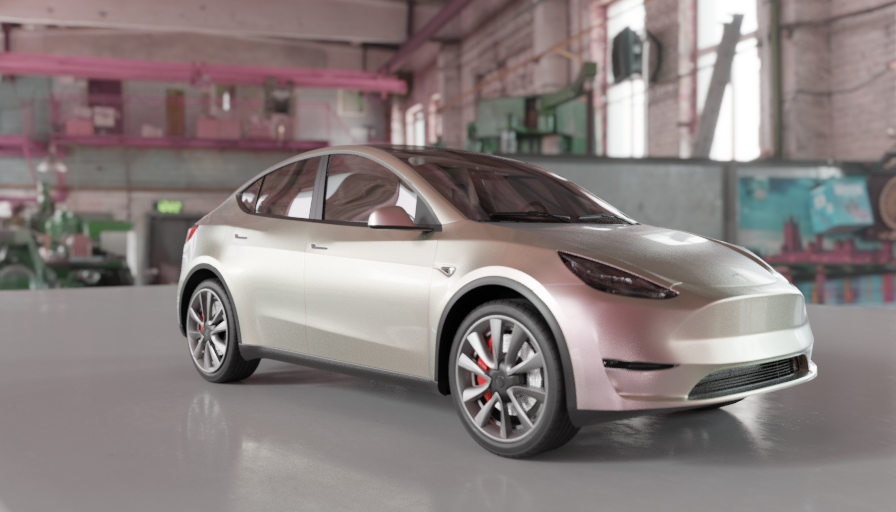
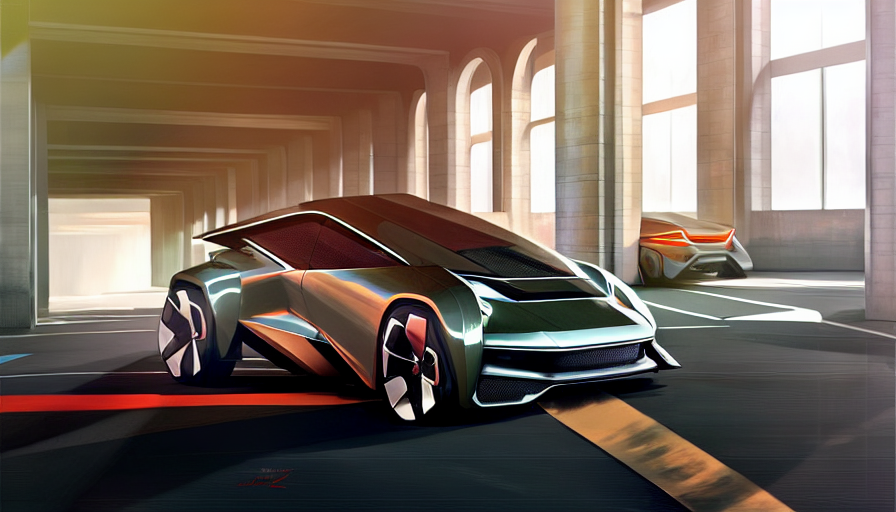
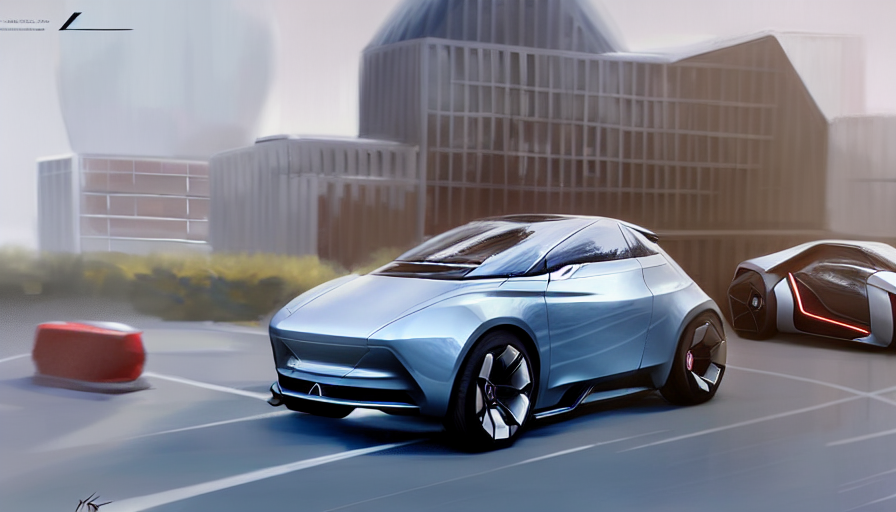
I use blender 3d renderings because I can control the lighting and angles easier in the image. Many times changing the angle slightly, will generate much better results.
I also noticed that the more you populate the scene with elements that are obviously not cars, like walls with patterns, tunnels, or mountains, the less likely Stable Diffusion will generate a random car there.
The really important thing is that the text prompt is equally as important. Their is endless styles to find and make your own.
Image size and Seeds
As explained earlier, Stable Diffusion can only read 512 pixels at a time.
I have found that 896x512 gets better results because the 512x512 pixel grid will always overlap each other.
If you use a size like 1024x512, it’s more likely you get multiple cars in the same image.
No worries though, the upscaling section will show you how to enlarge the images you create.

One of the most important features is being able to reuse the same seed.
It is usually set to -1, which means it will always be a new random seed, but if you click on the recycle button. It will use the same seed
So no matter how many times you press generate, the final image will be the same.
The extremely valuable part is that since we can lock it, we can test out different keywords and prompts, making it so we can see exactly how any change effects the final image

PNG Info
Every image generated by Stable Diffusion has meta data with all it’s information.
As long as the image is the original, like they are in my website, you can save and upload them in the png info tab, and the details will be shown.
Many social media sites, eliminate the metadata before posting it on their site, so don’t expect this to be in every stable diffusion image you find online
If you press the Send to img2img button, it will automatically load all the presets and prompts.
Interrogate an Image
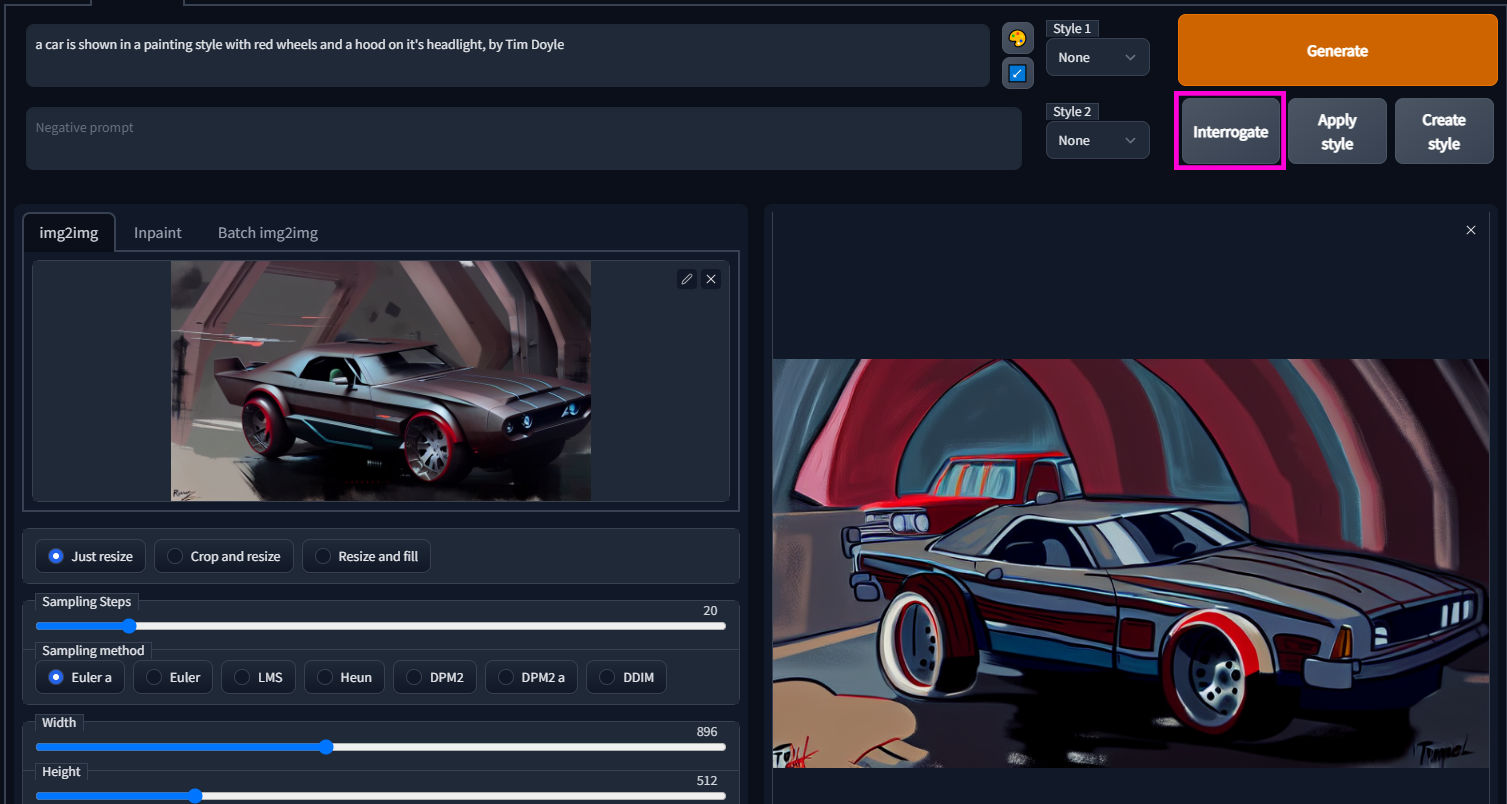
When you load an image into Stable diffusion you can ask it to interrogate it. It will analyze what it sees and make a guess at the prompt.
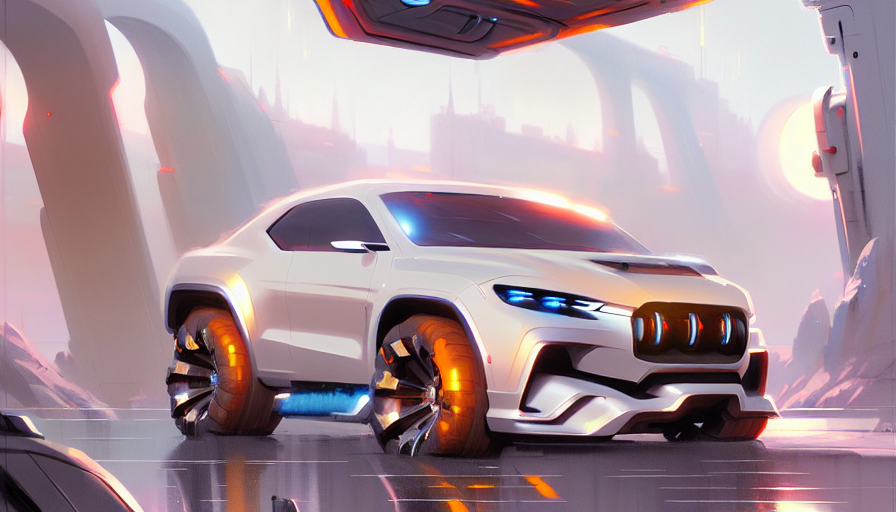
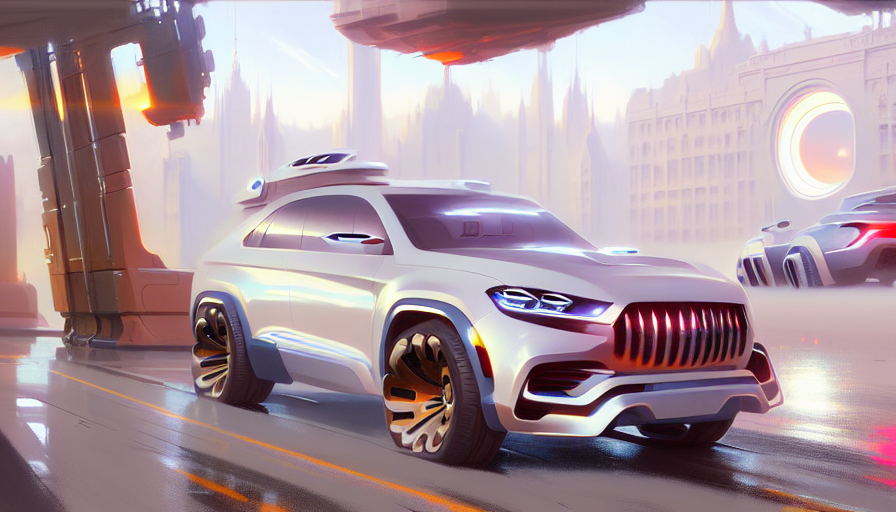
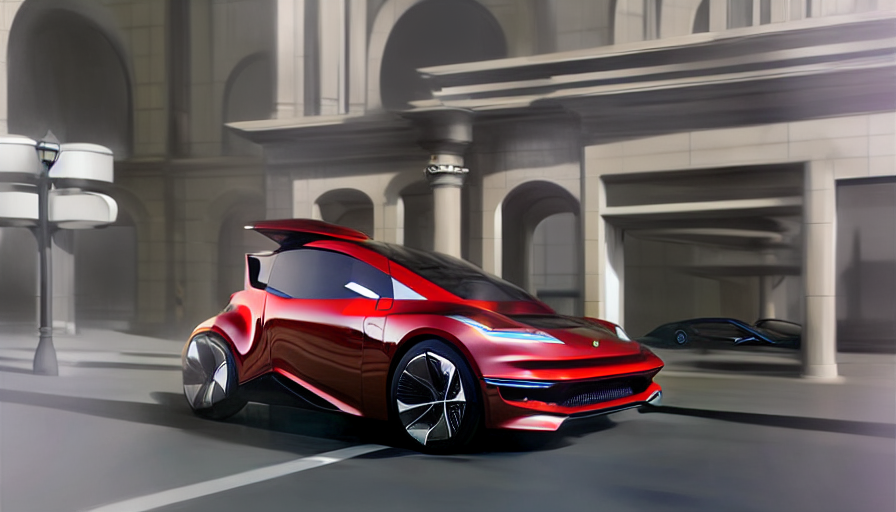
The prompt I used was “Futuristic Muscle Car, muted background, paint brush strokes, pen, gouache, concept art, greg rutkowski, Feng Zhu”
The result I got back was “a car is show in a painting style with red wheels and a hood on it’s headlight, by Tim Doyle”
Even though it can read the subject it currently isn’t good at interpreting styles.

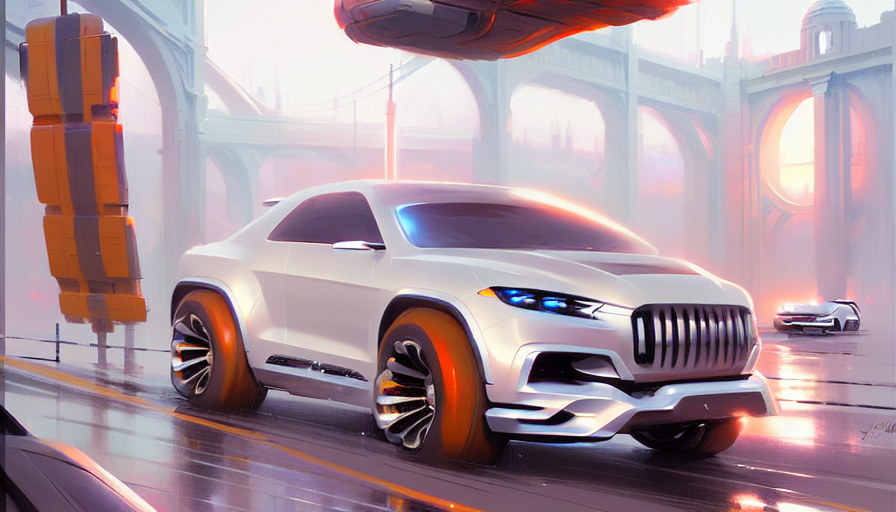
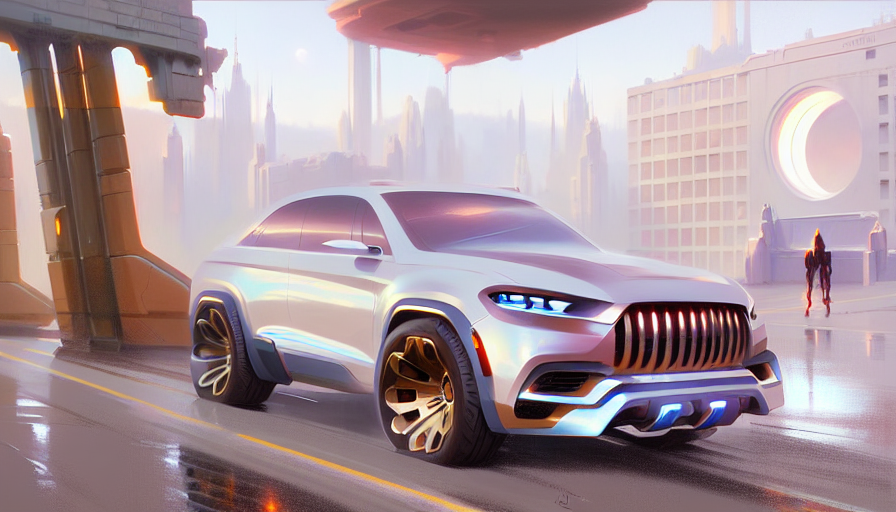
What I like to do is rerun the original prompt I used and then add the artist name to the mix. This gave me this result.
So even though it isn’t good at guessing the original prompt it might lead you to an artist that will change the style to something you really enjoy.
Add artist to your prompts
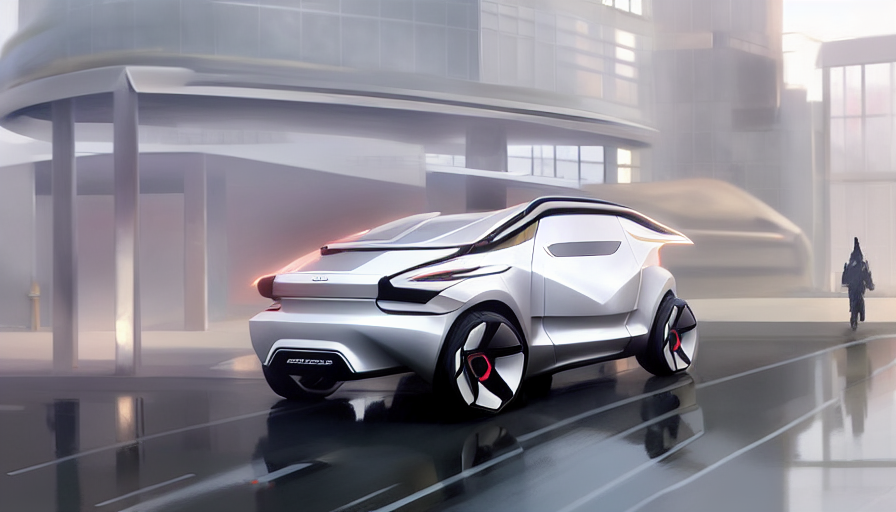
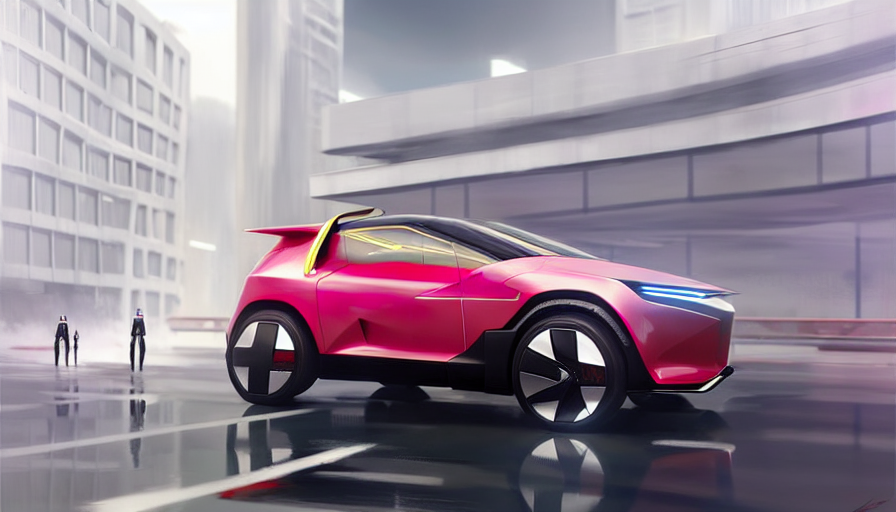
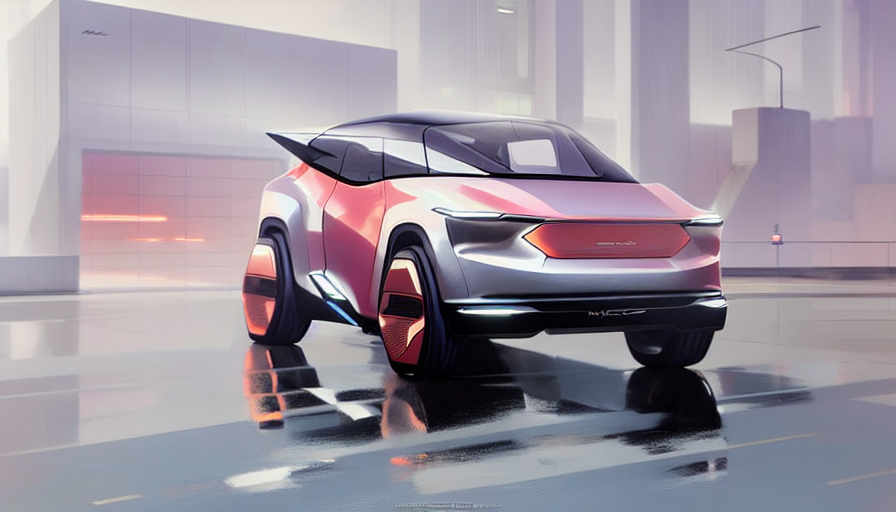
One of the biggest factors is adding different artist to make them more visually appealing, Here are 4 I found to give me good results. This prompt matrix shows how mixing different artist name together can give you different results.
A quick way to understand this matrix is the top left image has no artist text prompts, and the bottom right is all of them in the prompt.
Here is a list of artist I have found give nice result. It also seems using atleast 3 gives better result than 1
Greg Rutkowski
Khyzyl Saleem
Maciej Kuciara
Jordan Grimmer
Vincent di Fate
John Berkey
Their is also a random artist button, the paint pallet in the right. When you click that it will add a random artist to your prompt.
Finding Prompt Examples
A good source for inspiration that includes the prompt used is Lexica. You could also save any image on my site and find my exact words and set up with the png info tab shown in the following sections.
Pro tip: Many of the best Artist and keyword prompts have nothing to do with what you are creating. So keep experimenting and find a style you love.
Don’t be a prompt hoarder, share your discoveries with us in my Discord Channel.
Create Styles
When you find a style you like you can save the text prompt by clicking on create style.
In this example I had saved the prompt “cyberpunk city, detailed, sci-fi art, starwars concept art, volumetric lighting, vincent di fate, john berkey” as 80s Asthetic Illustration
Remember to leave out the subject matter and only include the keywords that produced the style
This way you just have to type the subject and apply the style you want.
Tips and tricks to supercharge your style exploration is in the Matrix Prompt section
It took me a very long time to find the right prompts, so don’t even ask me what they are. Just kidding, these are the ones I have so far.
Concept Sketch

concept sketch, racing wheels, digital illustration, trending in art station, pen marks, dynamic, vibrant color, white faint background, marker, by maciej kuciara, khyzyl saleem, greg rutkowski
Vibrant Concept Art

concept art, high detail, warm lighting, volumetric, godrays, vivid, beautiful, trending on artstation, by Jordan grimmer, art greg rutkowski
Muted Painting

muted background, paint brush strokes, pen, gouache, concept art, greg rutkowski, Feng Zhu
80’s Aesthetic Illustration

cyberpunk city, detailed, sci-fi art, starwars concept art, volumetric lighting, vincent di fate, john berkey
Sampler Method and Steps
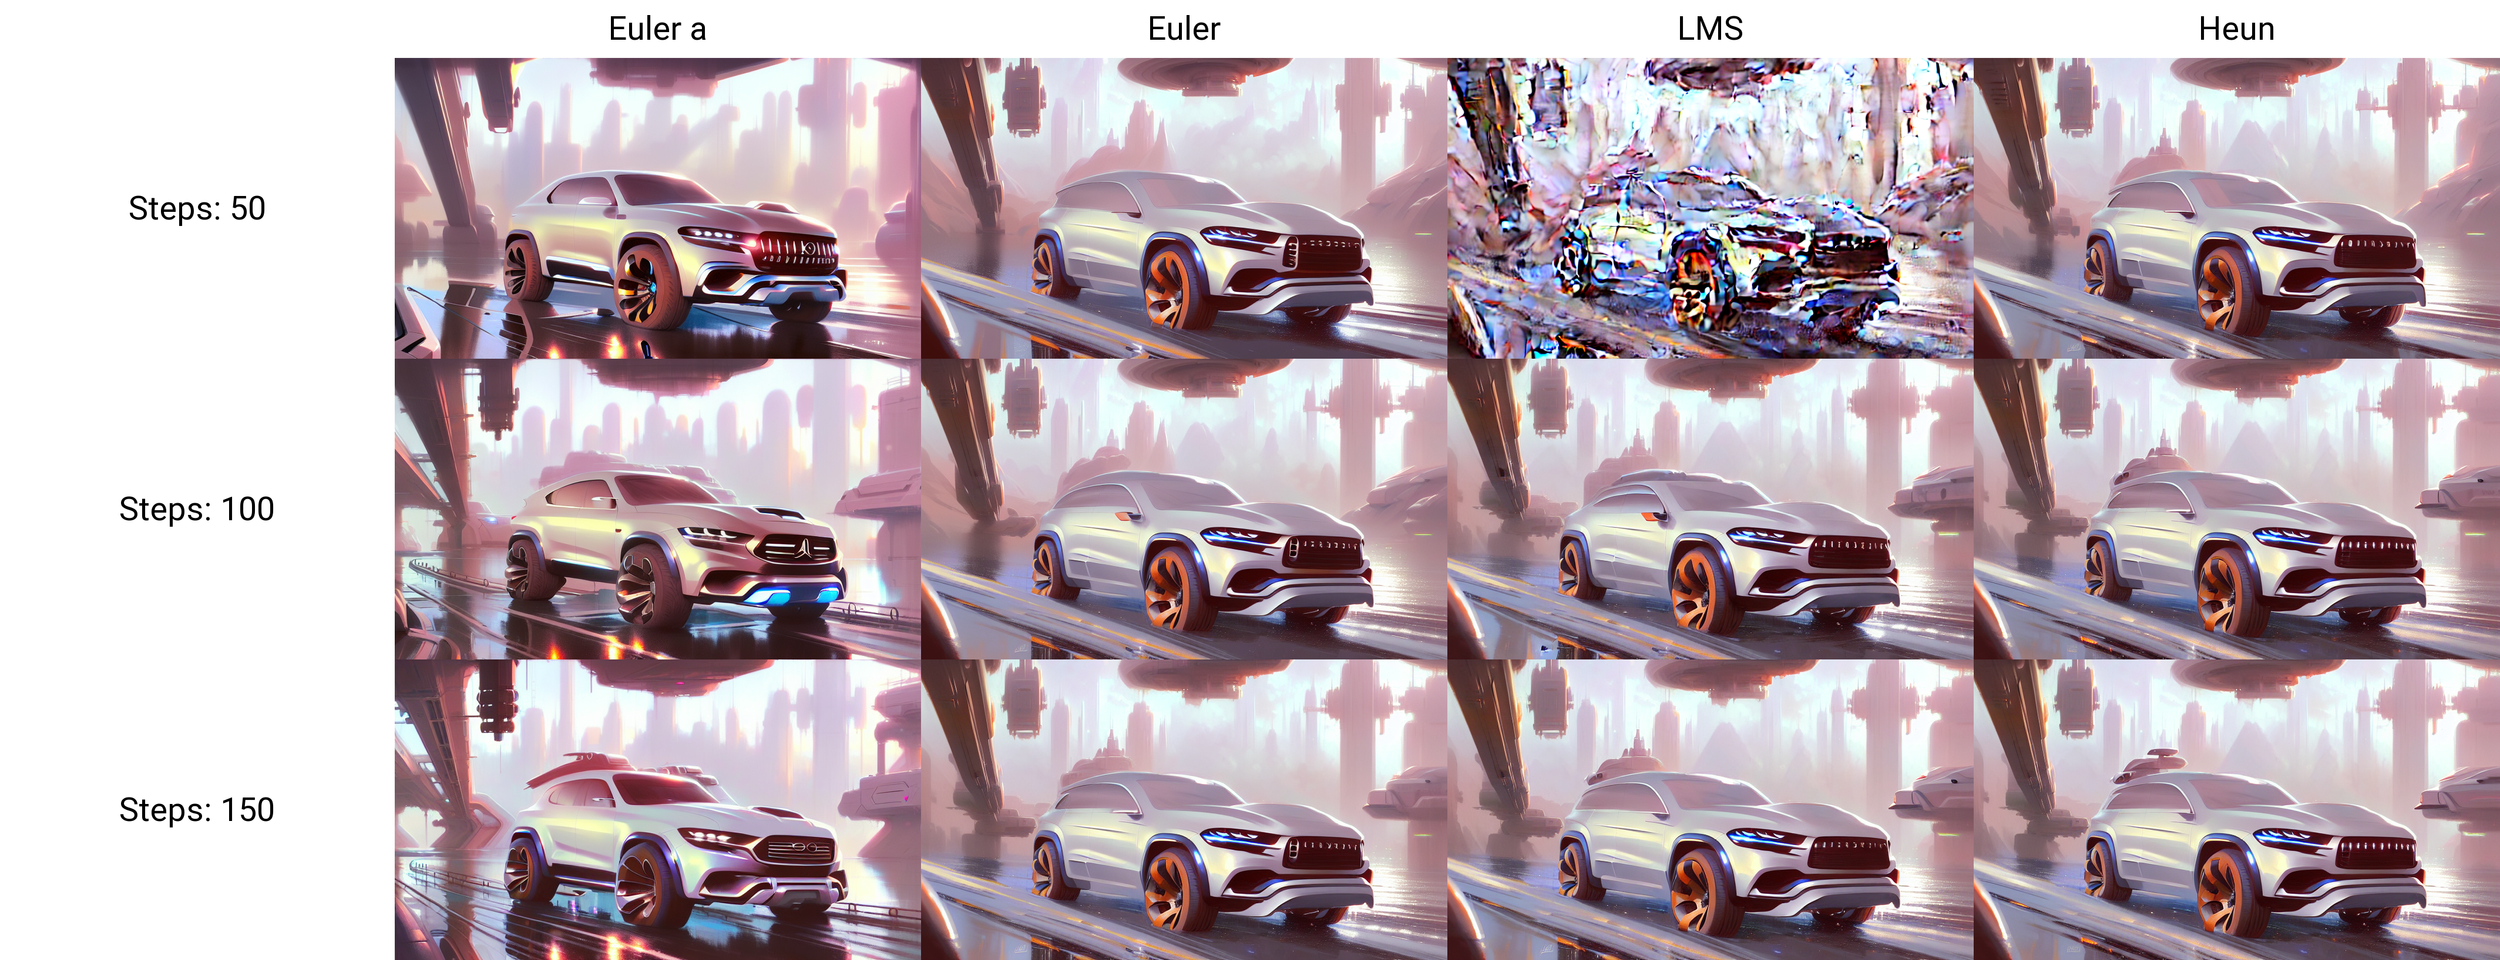
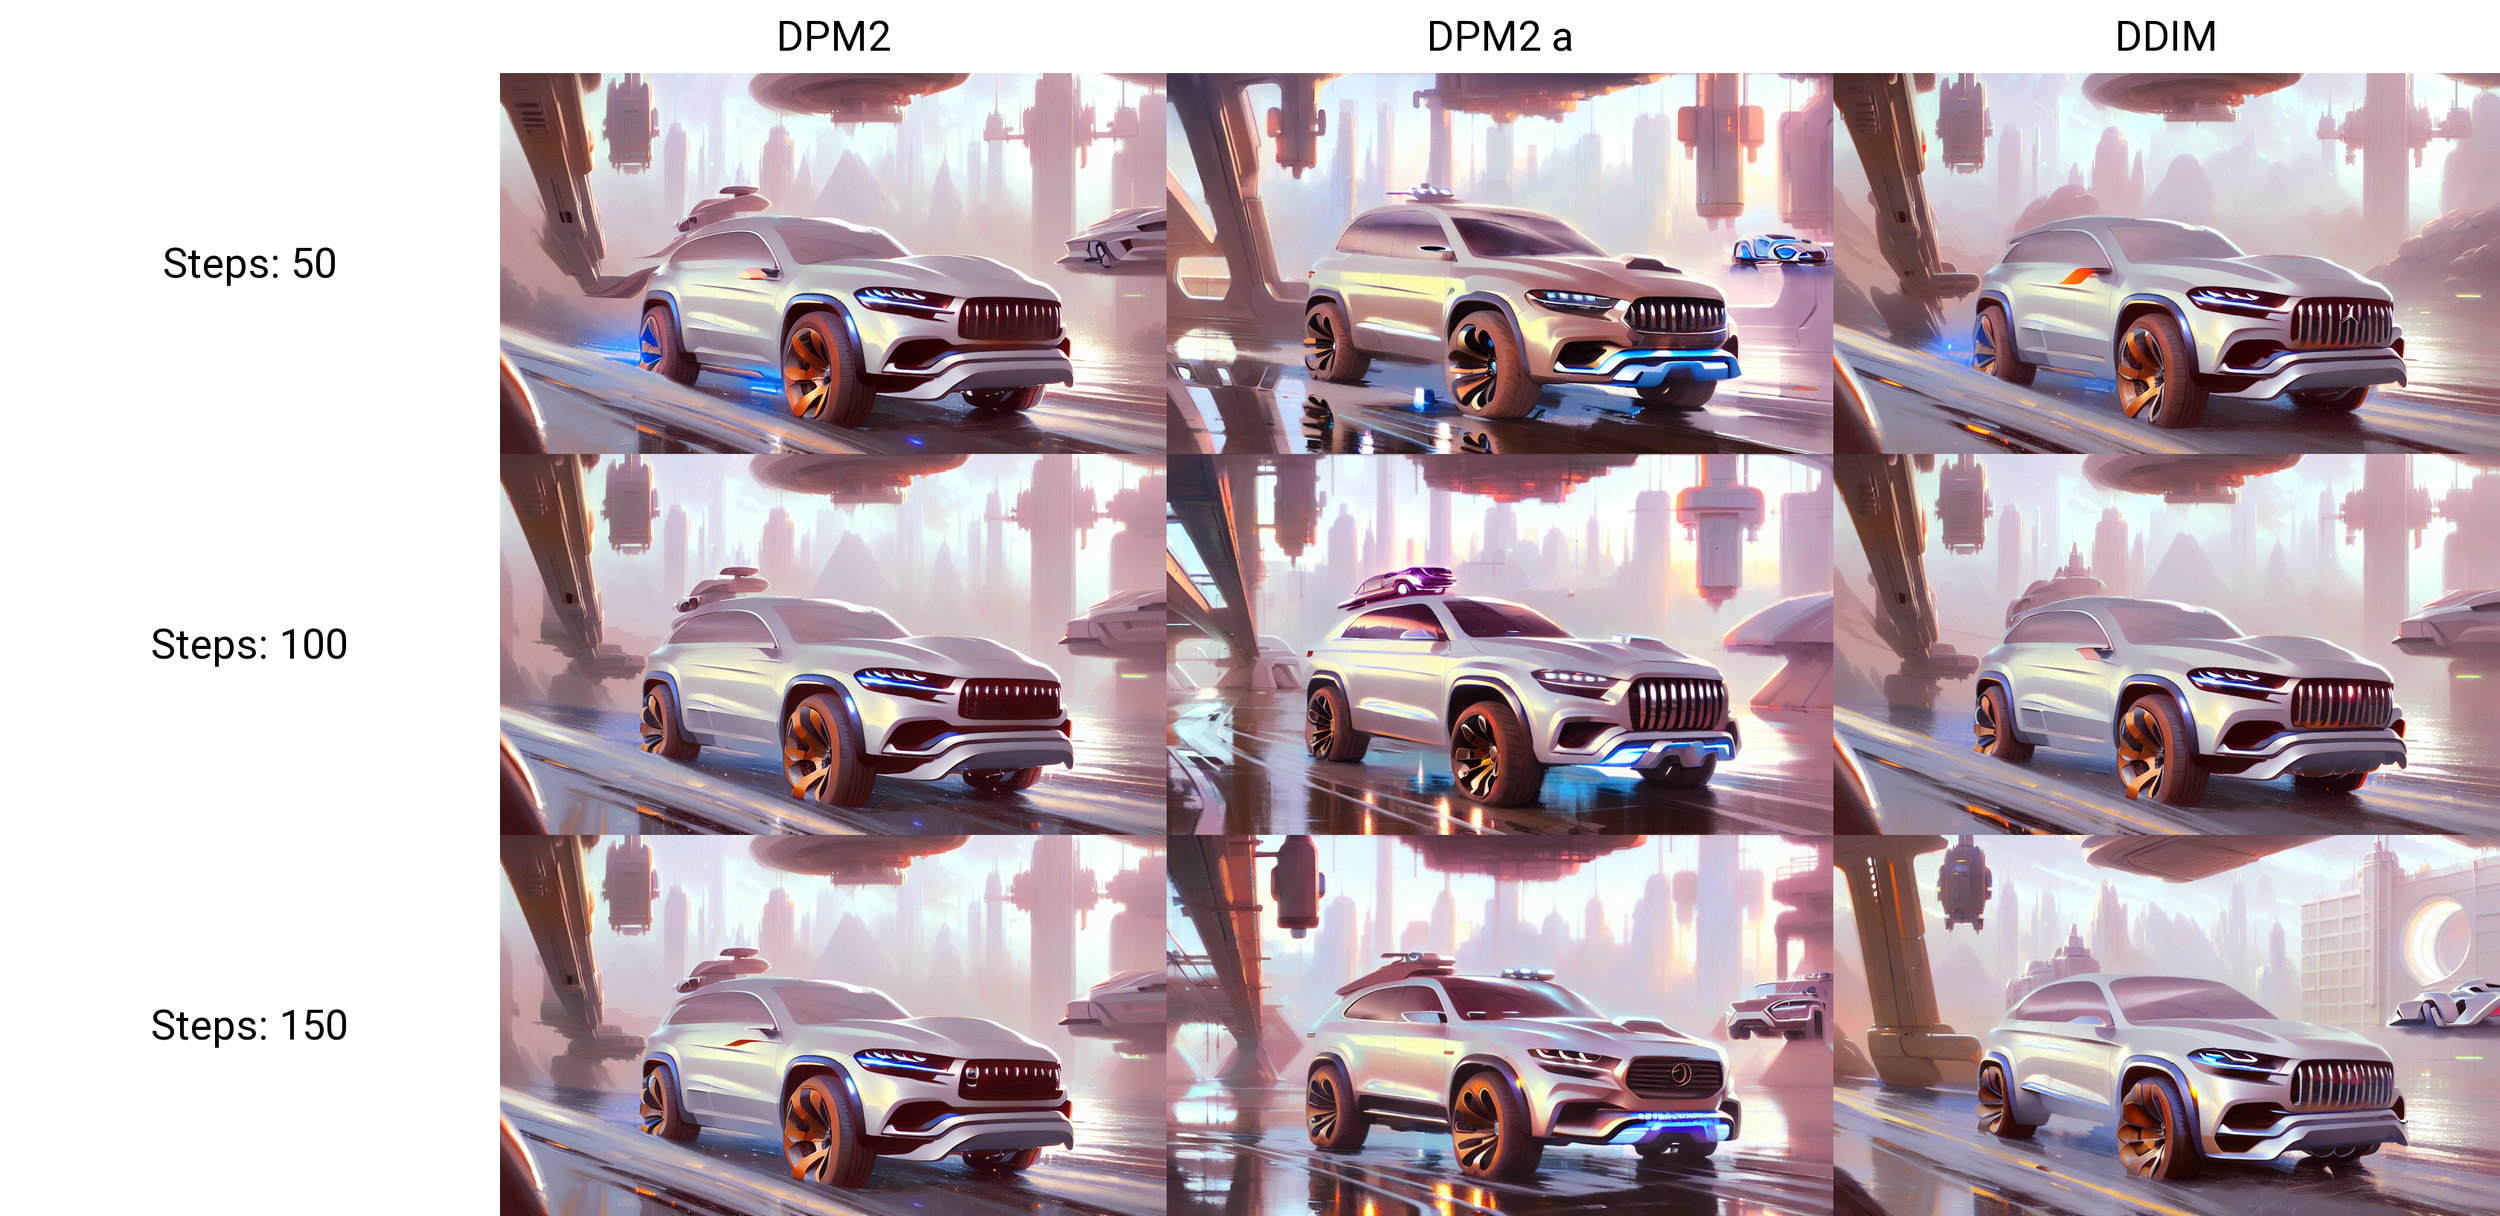
I haven’t noticed much of a difference between the different samplers.
Euler A tends to be the quickest and more vibrant result.
You can think of steps as how many times it refines the image. So the more steps the more details it will have.
More steps isn’t always better, especially when you want a more loose, abstract feeling.
Even though with my 3090ti 150 steps takes 15 seconds, when you are creating massive amount of images, it can be a huge time saver to use the least needed.
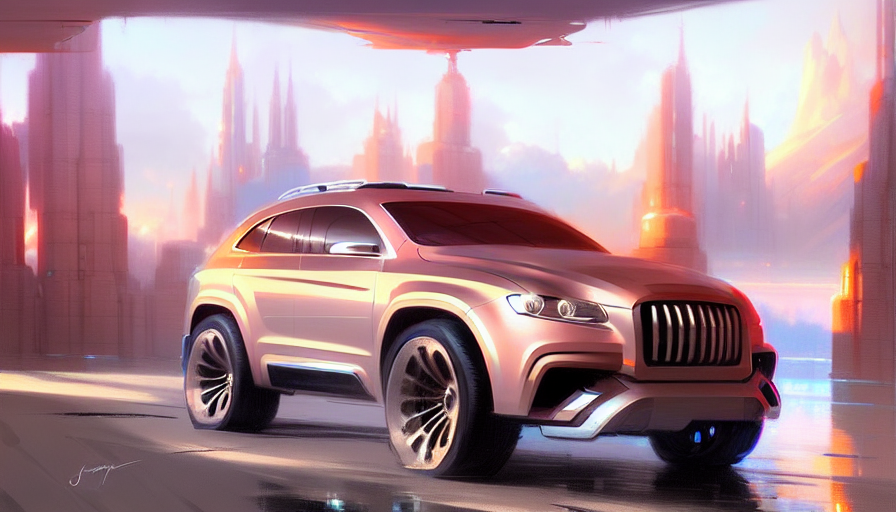
CFG Scale
You can almost call the CFG scale a realism slider. So if you are trying to recreate something that is photorealistic, keep it on the lower side.
If you are looking for more abstract illustration type results raise it to the higher end.
Denoising
Denoising is the magic that makes all of this work. You can think of it as how much influence your input image has on the final result. If it’s too little it doesn’t have enough freedom to make anything that good.
If it’s too much than your results will have little to do with your input image and your back to crazy land. in between .45-.65 is the magic land.
The following galleries are from 0.65-0.4


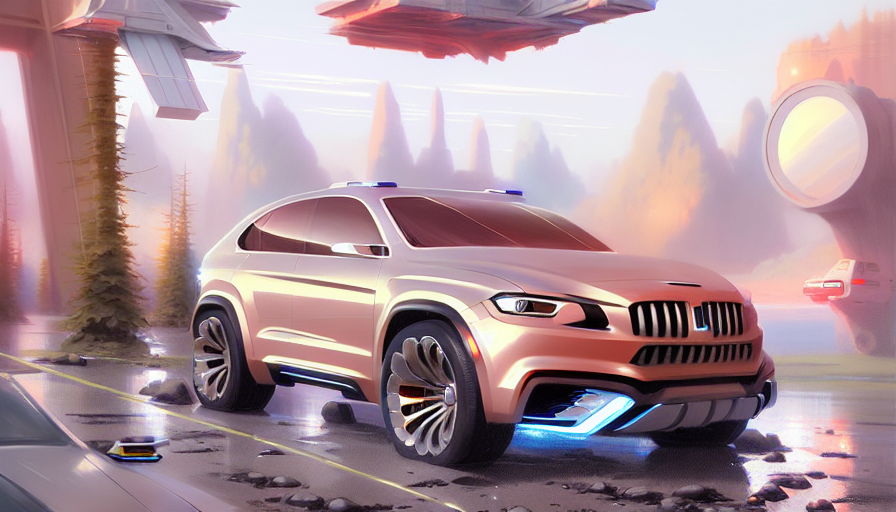
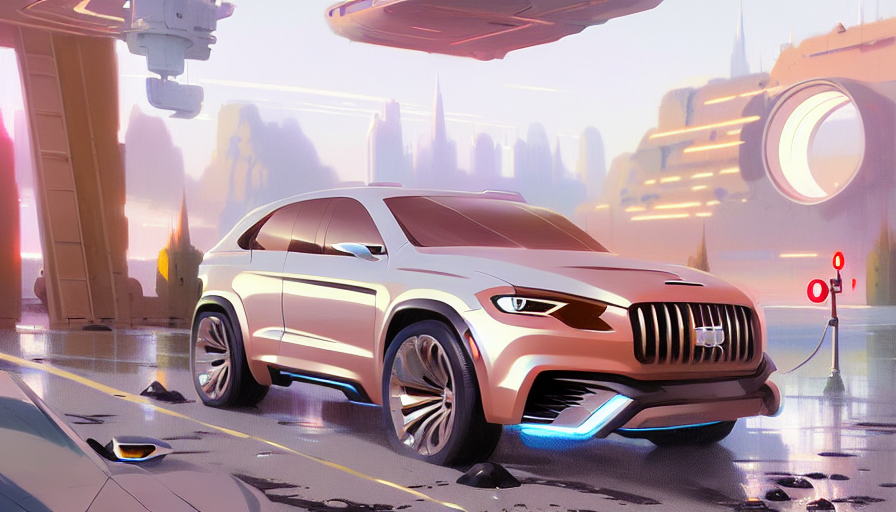


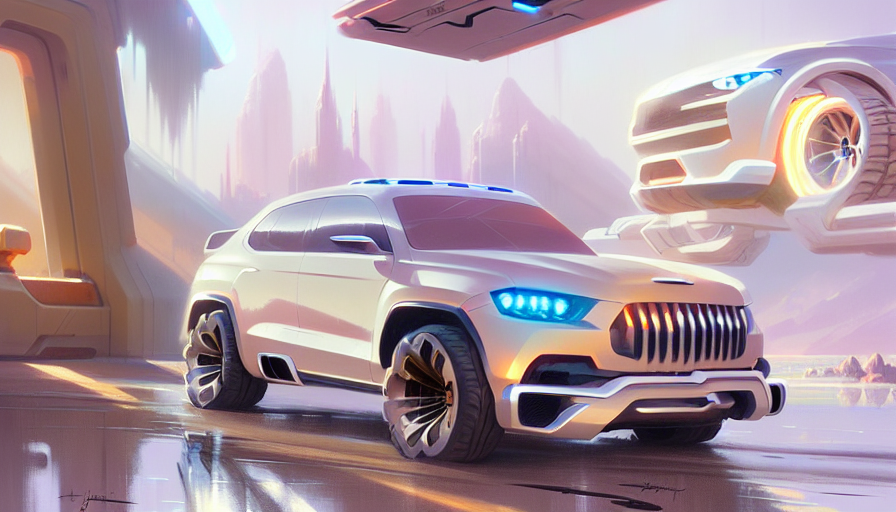
Ideation refinement with Variation Seed
When you are creating images, having a high denoise (0.55-0.65) is great for exploring many different ideas.
What if we find a concept we love and want to explore without a radical changes to the over all theme.

Open up the ideation you liked in the png info and click on send to img2img to get the seed info

Next to Seed you will se an Extra button. Click on it and you’ll see a Variation seed menu show up.
Move the Variation strength to 0.1
This will make it so that our original seed is the main driver of the image, but we are adding a small amount of variation to get different results.


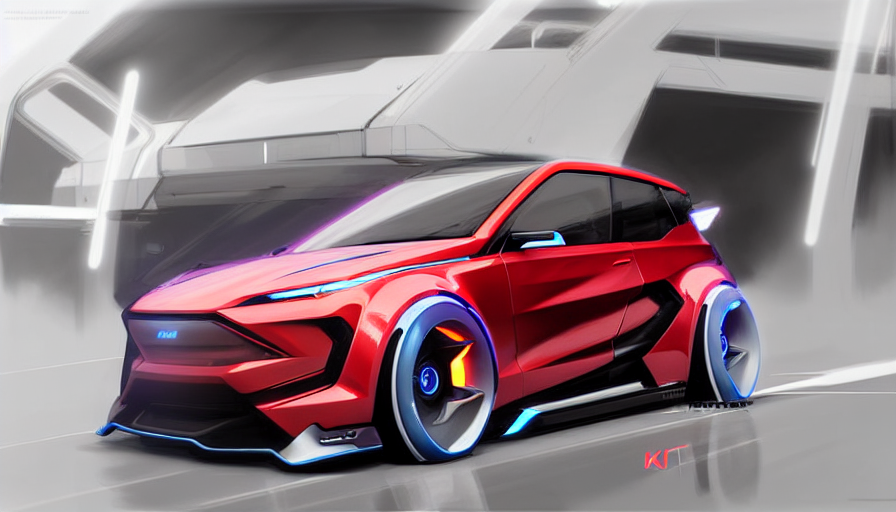
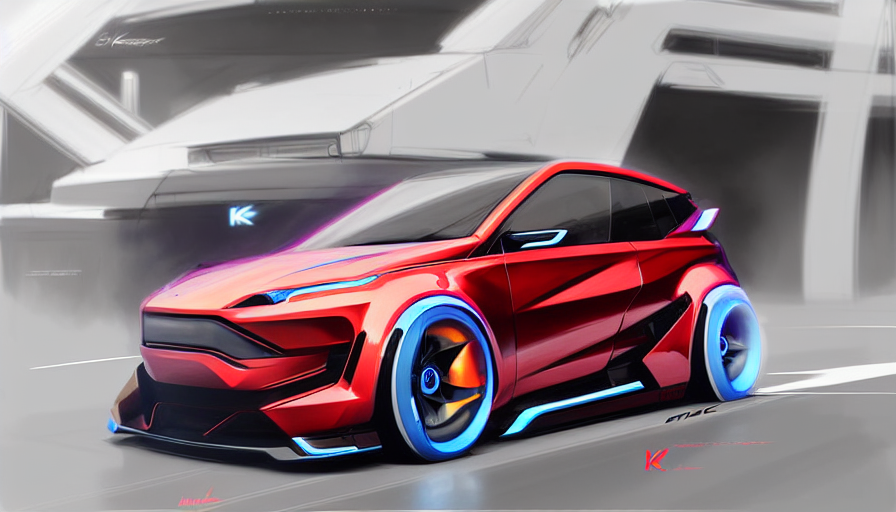


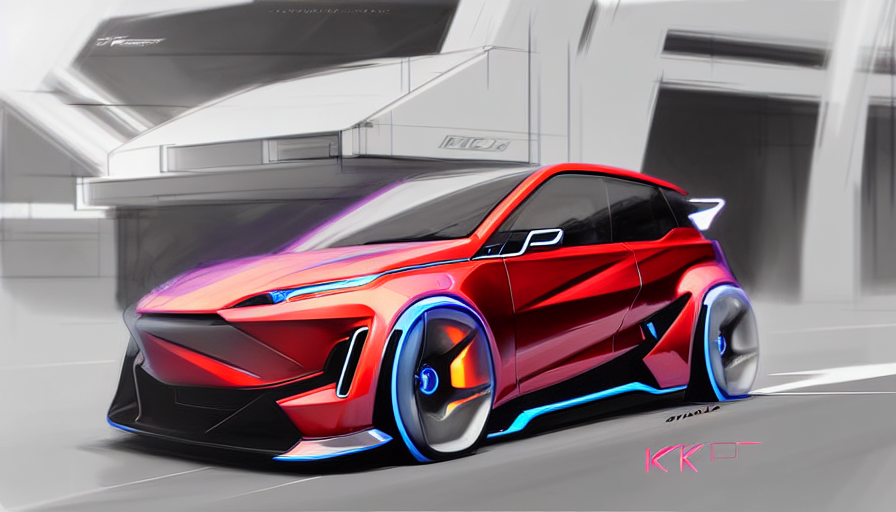
This to me is where it really starts to become useful as a design tool.
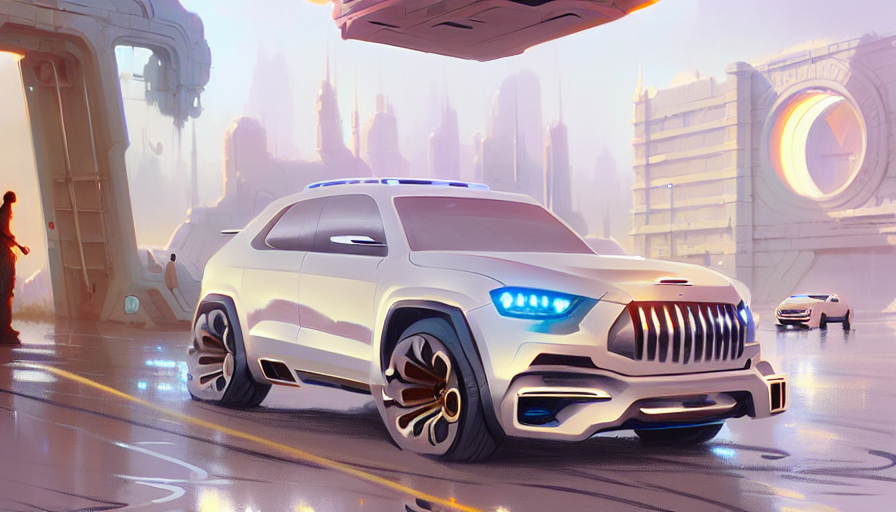
Instead of the randomness we were grappling with before, now we have endless variations.
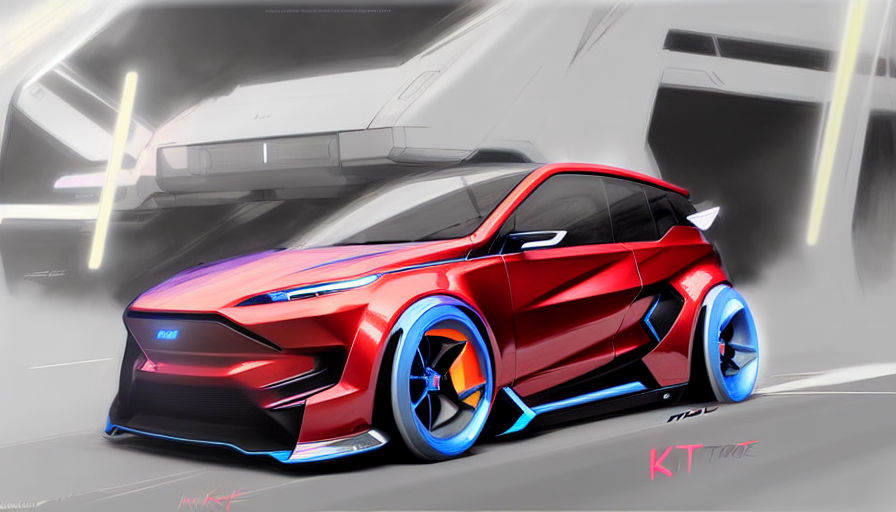
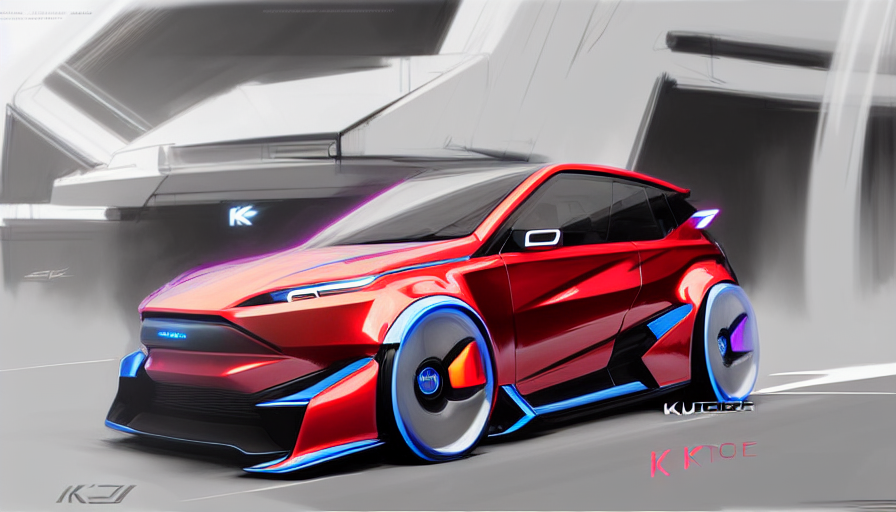
To many people these are all the same but not to designers like myself. You can ask it for 1000 different iteration overnight and wake up in the morning to 1000 different ideations.
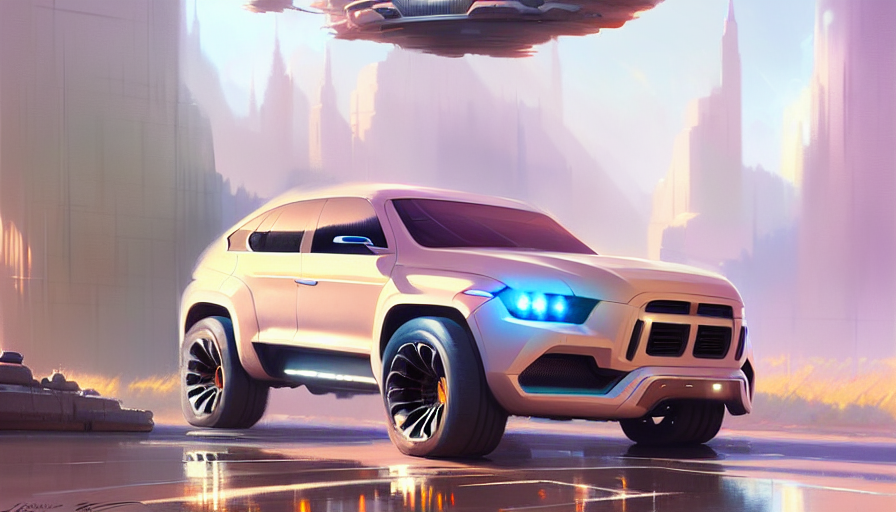
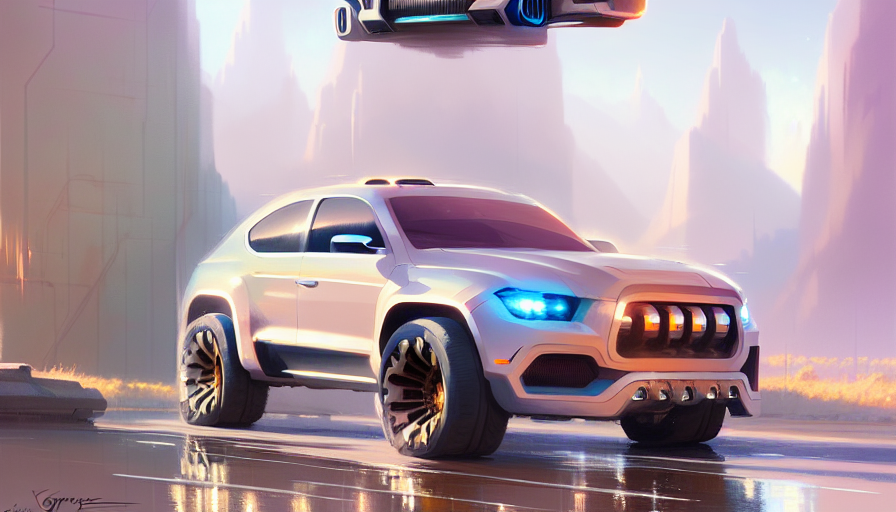
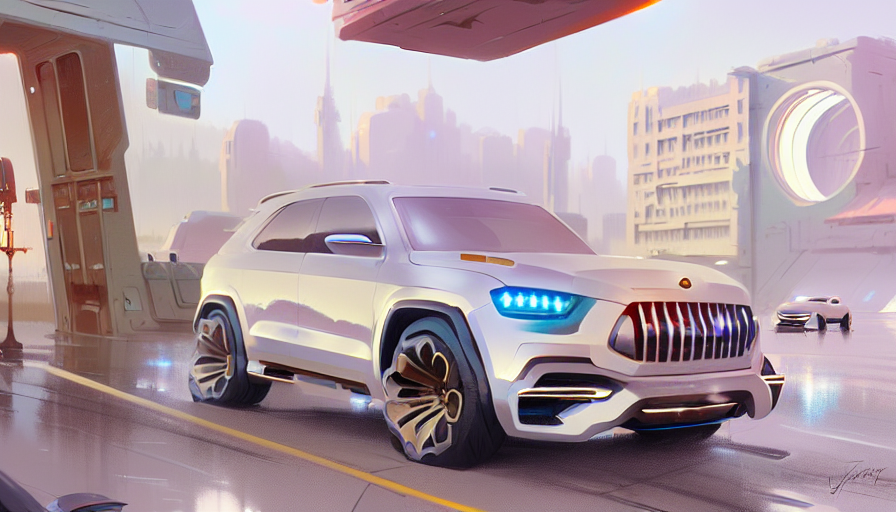
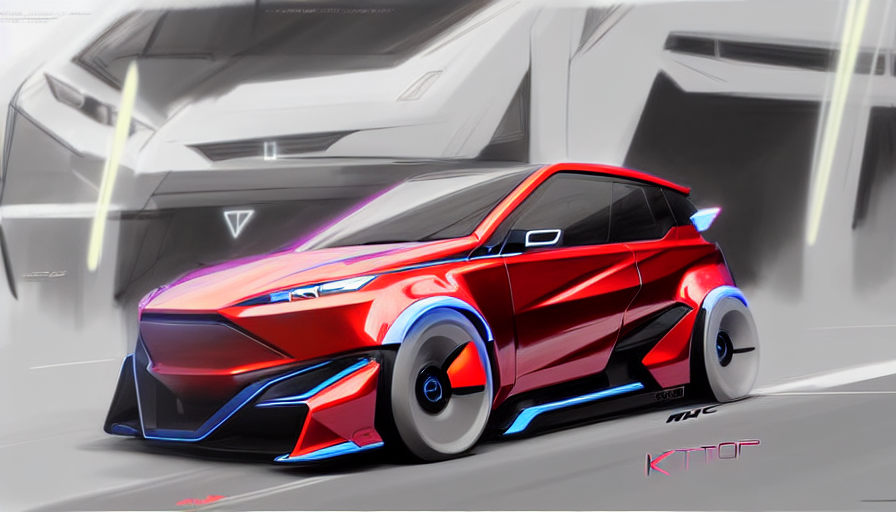
Not only that, but lets say for this image I liked the front but not the body side. You can go back to your exploration design themes, look for a body side you like, and do the same thing.
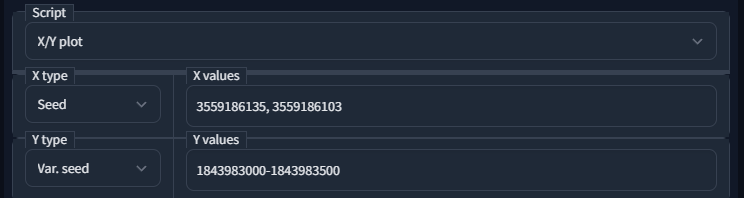
Protip: Once you find images that have the front you like and the body side you like, you can run a script that generate you as many ideas as you want. It is explained in further detail in the X/Y plot section, but here is what it looks like. The following script would generate 500 ideations of the face donor and body donor each.
I myself can’t draw, but in the following section I will show you guys how you can use simple photo editing skills to mix whatever front you like with whatever side and let Stable diffusion worry about blending them together.
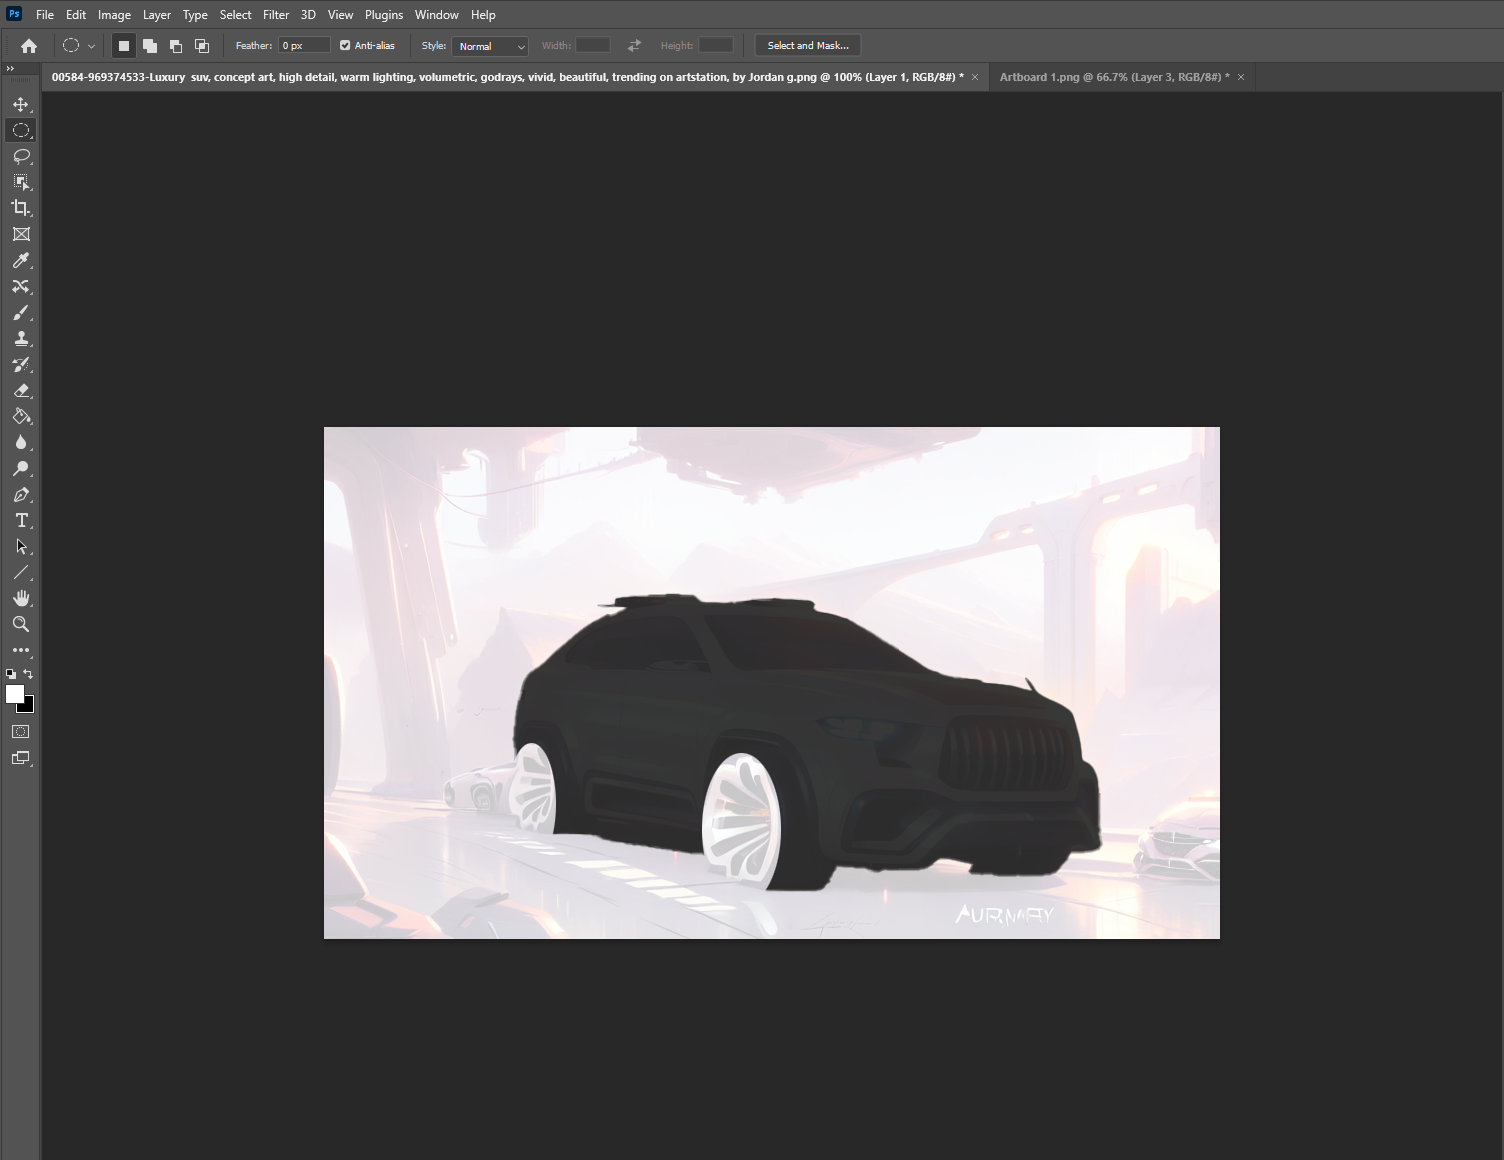
Merging two design elements
In this example I will show you how easy it is to merge a body side with a different front.
The first thing you need to do is use the Objection Selection tool in photoshop. Yet again AI saving us valuable time in trying to crop it out. From here it is easy to erase the body side of the face donor vehicle. Then you copy the face into the the body side image. You don’t need to worry much about where they meet, Stable Diffusion will fix this for us.
Open up your monster mash inside of Stable Diffusion. Here you will run it with the Denoise strength set relatively low (0.35). This way it will still keep the design but have the freedom to fix where the two merge.

Luxury suv, concept art, high detail, warm lighting, volumetric, godrays, vivid, beautiful, trending on artstation, by Jordan grimmer, art greg rutkowski
Steps: 150, Sampler: Euler a, CFG scale: 30, Seed: 1465985872, Size: 896x512, Model hash: 7460a6fa, Denoising strength: 0.35, Mask blur: 4
Merging Multiple Elements
Here is another example of how easy you can grab any element and merge what you like together.
Body side donor
Face donor
Background donor
Using basic photoshop skills I copied each element I wanted and merged them together
Remember that wheels are the same, so just copy one you like and paste it in the back, then squish it for perspective
If you notice in the image I made in photoshop, I didn’t worry much about how they blend together.
Then I added a gradient color layer to make it feel more cohesive
0.2 Denoise strength
0.5 Denoise strength
0.6 Denoise strength
Inpainting with a custom mask
In this example I want to fix this iteration by changing the wheels and eliminating those weird little cars.
I will say that the previous method is much better than using inpainting. It tends to be a bit random and muted with it’s result.

Making the mask is fairly straightforward. Use the Object selected tool again to make a black outline of your car. Then if you also want to change the wheels make sure to erase the black on top of them so they will change as well.

Even though with enough iterations you will eventually get something good. I have found that it would have been better to just merge wheels from another rendering.
One of the things I noticed was that when you do this method the background is more muted.
This can be fixed by using another donor background but I also found the muted background sort of pleasing because it makes the car stand out more.
The only problem is we got ourselves a tiny cow. No need to use photoshop for simple things like this, their is a brush inside of Stable Diffusion
Inpainting brush to do quick adjustments
When you select Draw mask, you can cover up the things you want Stable Diffusion to try again.
Remember to make sure your seed is set to random, which is -1.
This is also a valid way of just blocking out parts of the design (like for example the headlights, and running a bunch of prompts till you get what you like.
Making Large Batches of Iterations
No point in sitting in you desk all day clicking on generate. You can have batches of images made at a time.
You have two options batch count and batch size
Batch count is how many batches you want done. So if you slide it over to 16 with a size of 1, it will generate 16 images for you
Batch size is how many images you want it to make at the same time. So if you slide it to batch count to 16 and batch size to 8, it will generate 128 images for you.
The catch being in batch size it means how many it makes concurrently. So if you have a graphic card with 4gb of VRAM, your computer can’t handle very big batches.
My 3090ti can handle max count. It takes my computer about 40 minutes to make these images.
Protip: I sync my output folder to my google drive account so every image gets sent to my phone and I can take a look
Batch Image to Image
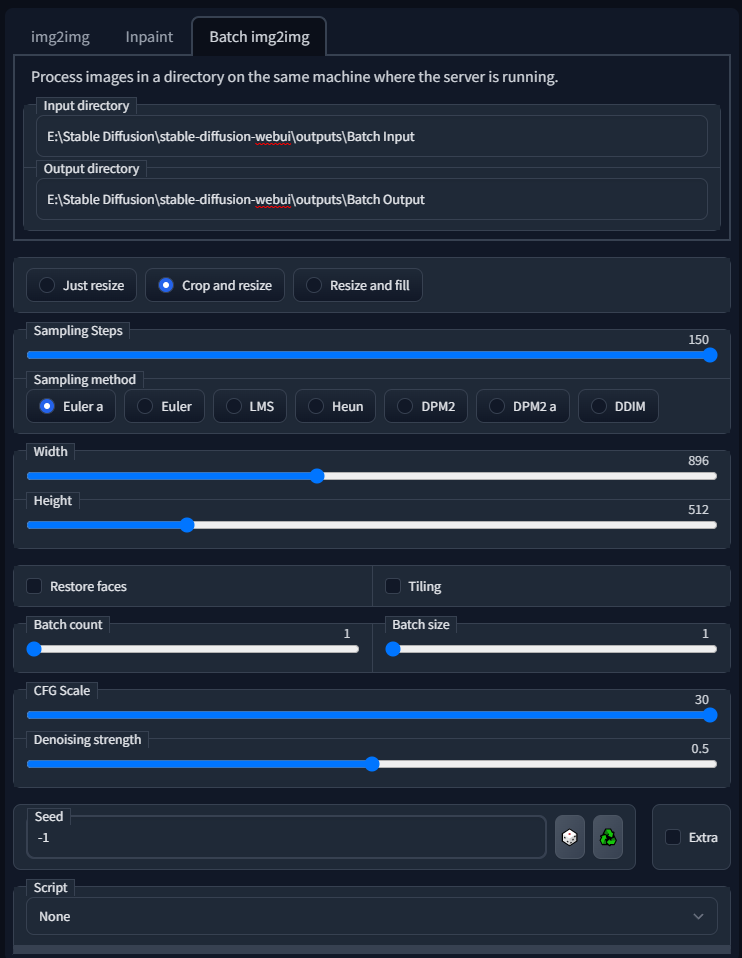
Batch Image to image to image is a great way of testing a prompt with multiple images
I have found that different prompt work better with different images.
I quick way to streamline this process is to render out different views, environments and colors of your scene.

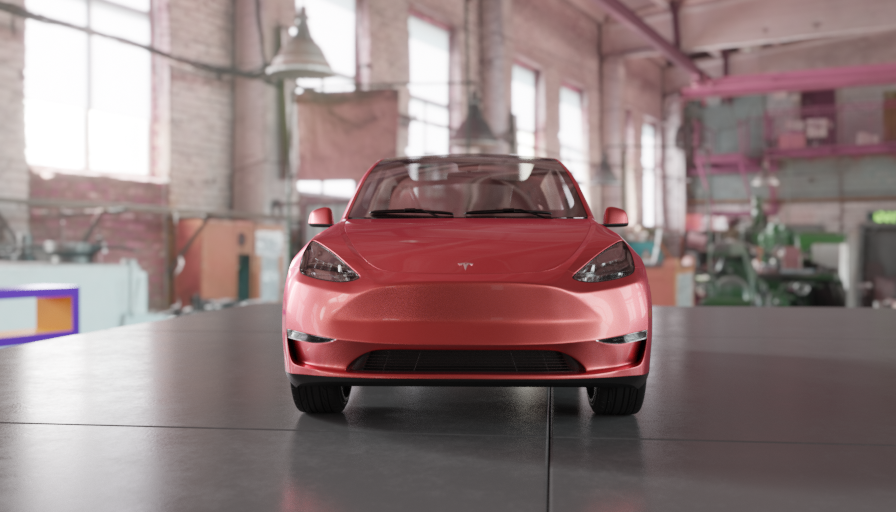


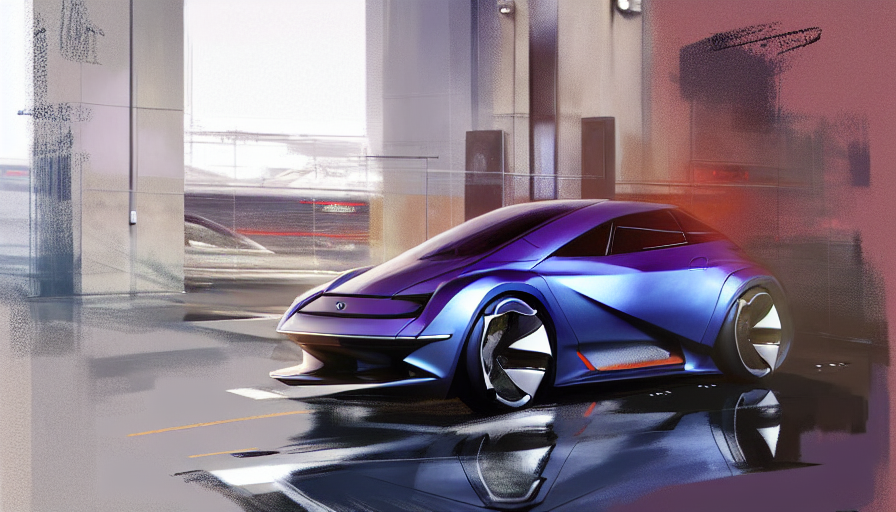


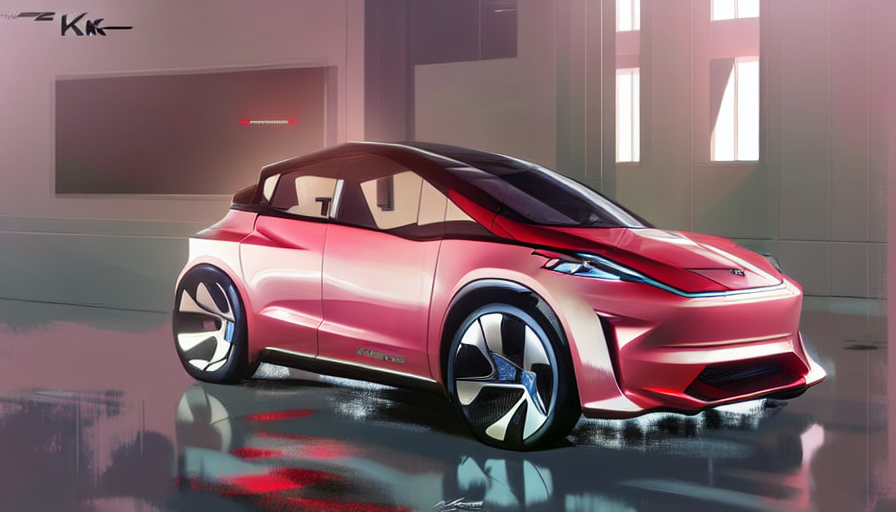
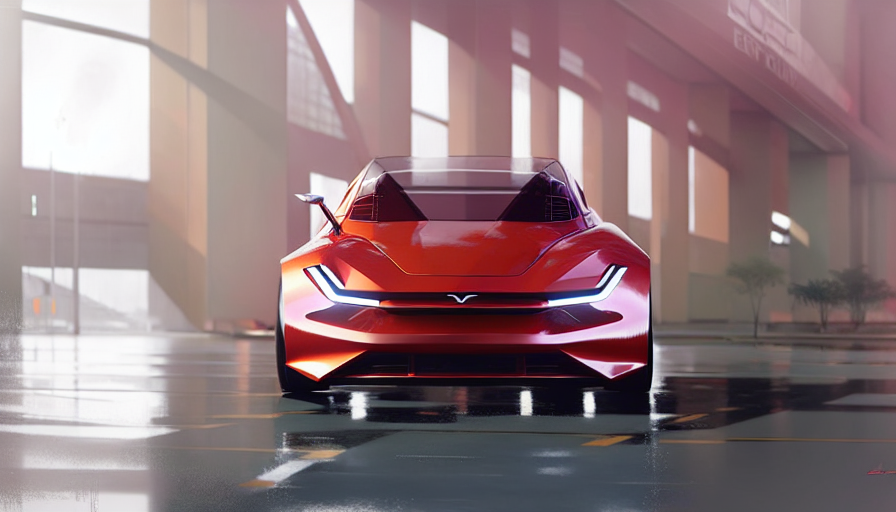
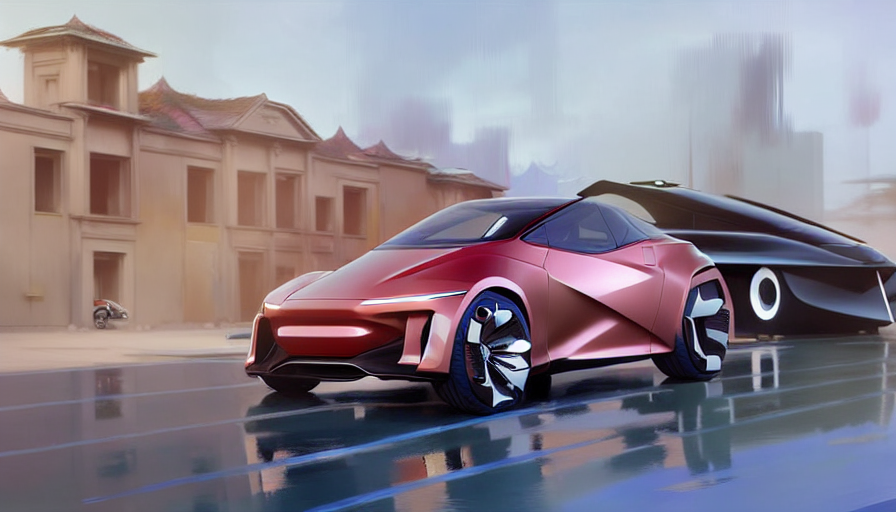
The prompt I was using was “ Sleek modern electric car, digital concept art by maciej kuciara piotr jabłoński ruan jia sheng lam paul chadeisson khyzyl saleem “ A random one I found got good results in Lexica
If you notice, the red renderings seem to get much better results than the others.
It’s hard to figure out why some work and other don’t but you can use this method to test as many as you want in one action.
The one thing I don’t like about this method is the output images don’t save the meta data.
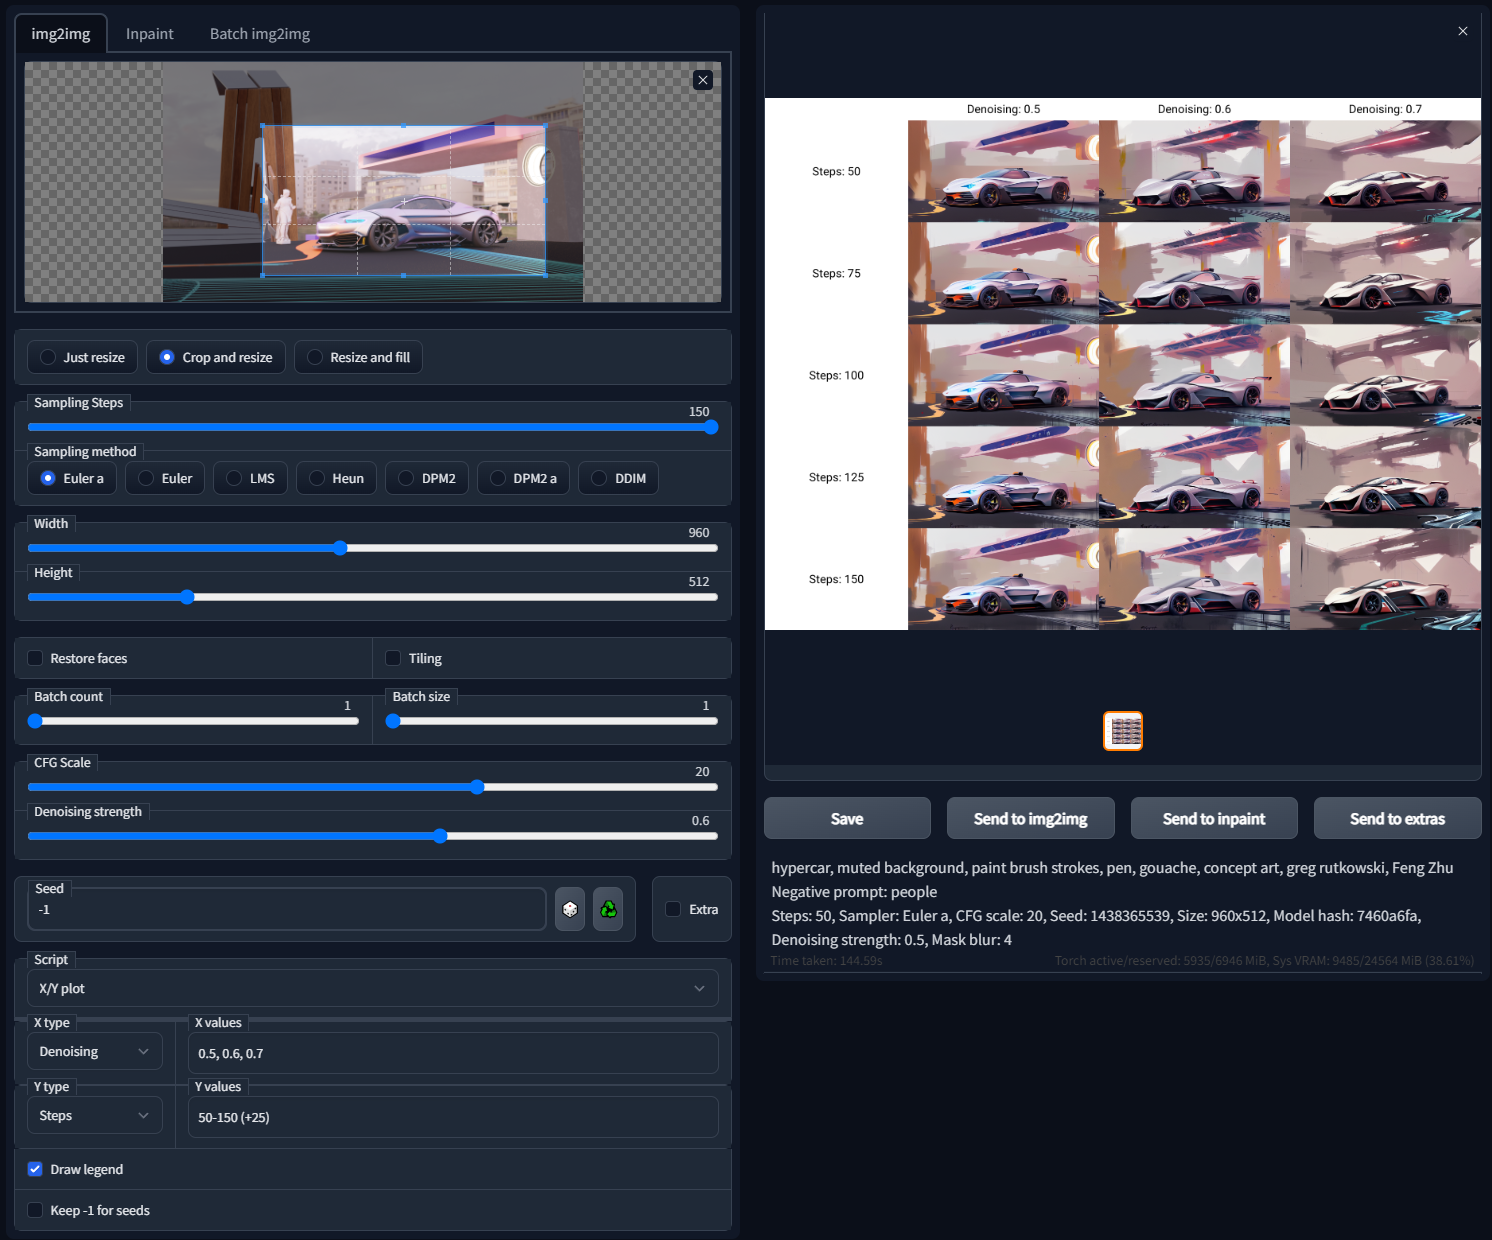
Making x/y plots to Dial in your setting
X/Y plot is located in the script pull down menu.
X/Y plots work by letting you set different setting so you can test out every setting you can imagine in one action
You can put values by hand, for example if you wanted to check different denoise settings, under X type you choose Denoising 0.4, 0.5, 0.6
You don’t have to write every number you can also format them like this
1-5 = 1, 2, 3, 4, 5
1-5 (+2) = 1, 3, 5
1-3 (+0.5) = 1, 1.5, 2, 2.5, 3
In this setup, they will all use the same seed so you can see how the settings effect the output.
This will also produce the grid image you see in my page. They are located in the output folder img2img-grids
Making x/y plots for infinite iterations
Let’s say you want to go home and you want to run different seeds to get as many different outputs as you want.
This is basically the same thing as just standing in your computer and clicking on generate, since it does it one at a time, if your computer can handle making one image, it can keep doing that till the end of humanity.
So the easiest way to do this is by copying any 9 digit random seed, in this case I used 4119941019
Adding how many you want it to generate, in my case 500, so you type 4119941019-4119941519
Once you hit go it will keep going till it reaches the other seed no matter how far away it is.
So if you have your output folder synced up to a google drive like I do, every 15 seconds you’ll get a new image in your phone till the end of your existence, or probably your hard drive will get full first.
The best part is that as it keeps going the files are saved, so even if you have to stop it just click on interrupt and the action will stop and you wont lose anything.
The grid image usually doesn’t make it though.
Protip: I usually have a favorite folder starred in my google drive. As I go about my day I’ll look at the iteration and transfer them to that folder.
Making Prompt Matrix
The Prompt Matrix can be found under the Scripts pull down menu
Earlier in this guide I found a prompt in Lexica that gave me good results. The only problem is I don’t know what artist keyword is doing what.
Making prompt Matrix is a great way to start to figure out exactly how each prompt effects the final image.
To tell Stable Diffusion what prompts to use, place them in the end of your text and add the line symbol “|” between the words
The following is how I set up the prompt.
Sleek modern electric car, digital concept art by |maciej kuciara | piotr jabłoński |ruan jia sheng| lam paul chadeisson |khyzyl saleem
Upscaling Automotive Design
Original
You can save the image on your mobile device to see the full resolution
LDSR 5 minutes to upscale
Lanczos 1 minutes to upscale
Real-ESRGAN 4x 1 minute to upscale
Upscaling Environment Design
Original
You can save the image on your mobile device to see the full resolution
LSDR - 5 minutes to upscale
Real-ESRGAN 4x - 1 minute to upscale
Real-ESRGAN 1 minute to upscale
Lanczoz 1 minute to upscale
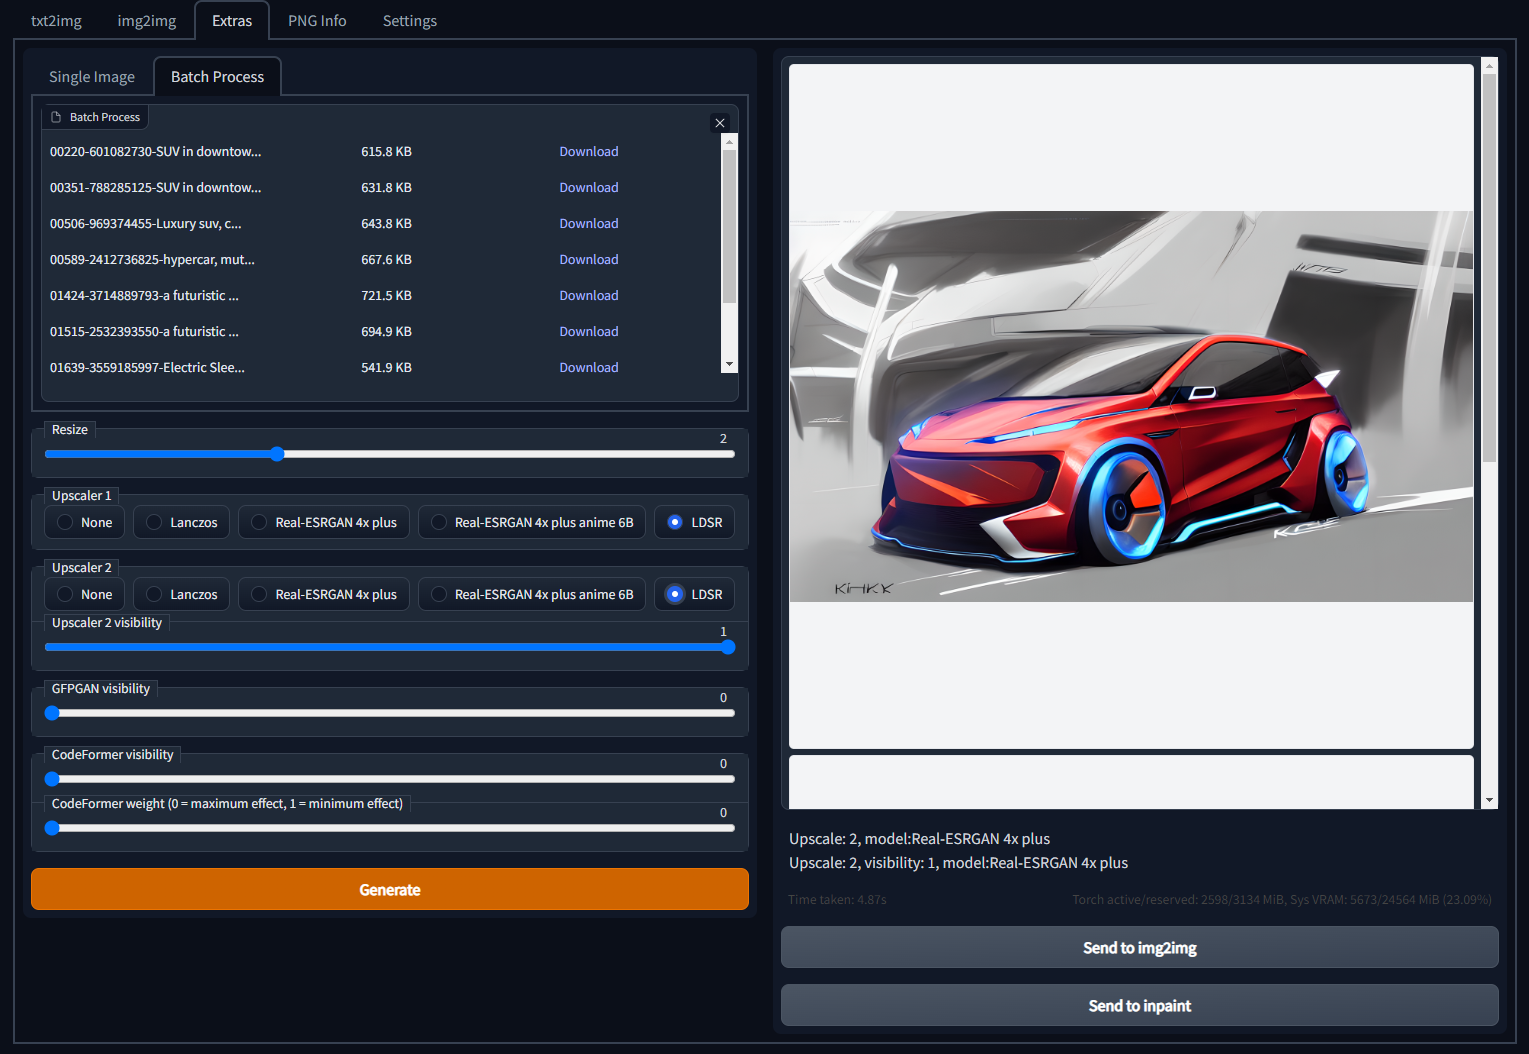
Batch Upscaling
A quick way to upscale your favorite iterations is under the Extras Tab
Just drag and drop all the images you want to upscale and hit on generate.
Change the upscaler type to LDSR
They will show up in the Extra output folder